 CTF
CTF
Moar Dragon!
2020 has only just started in action and already we have an update to Kali! The new build, 2020.1 brings in another big round of changes which include things like changing the username and password cobo and cool stuff like NOT running as root by default for all those who love a KALI daily driver! 😛
This post is aimed at beginners, if you’re an experienced user you probably have already installed by now, so go secure stuff by sending all the pews. For the rest of you, let’s get the ISO downloaded and get cracking (maybe literally!)
We’ve also made a video to accompany this post (the video is a gui encrypted LVM install): Watch it here!
Downloading Kali
You can get Kali through HTTP or using torrents from the following link:
https://www.kali.org/downloads/
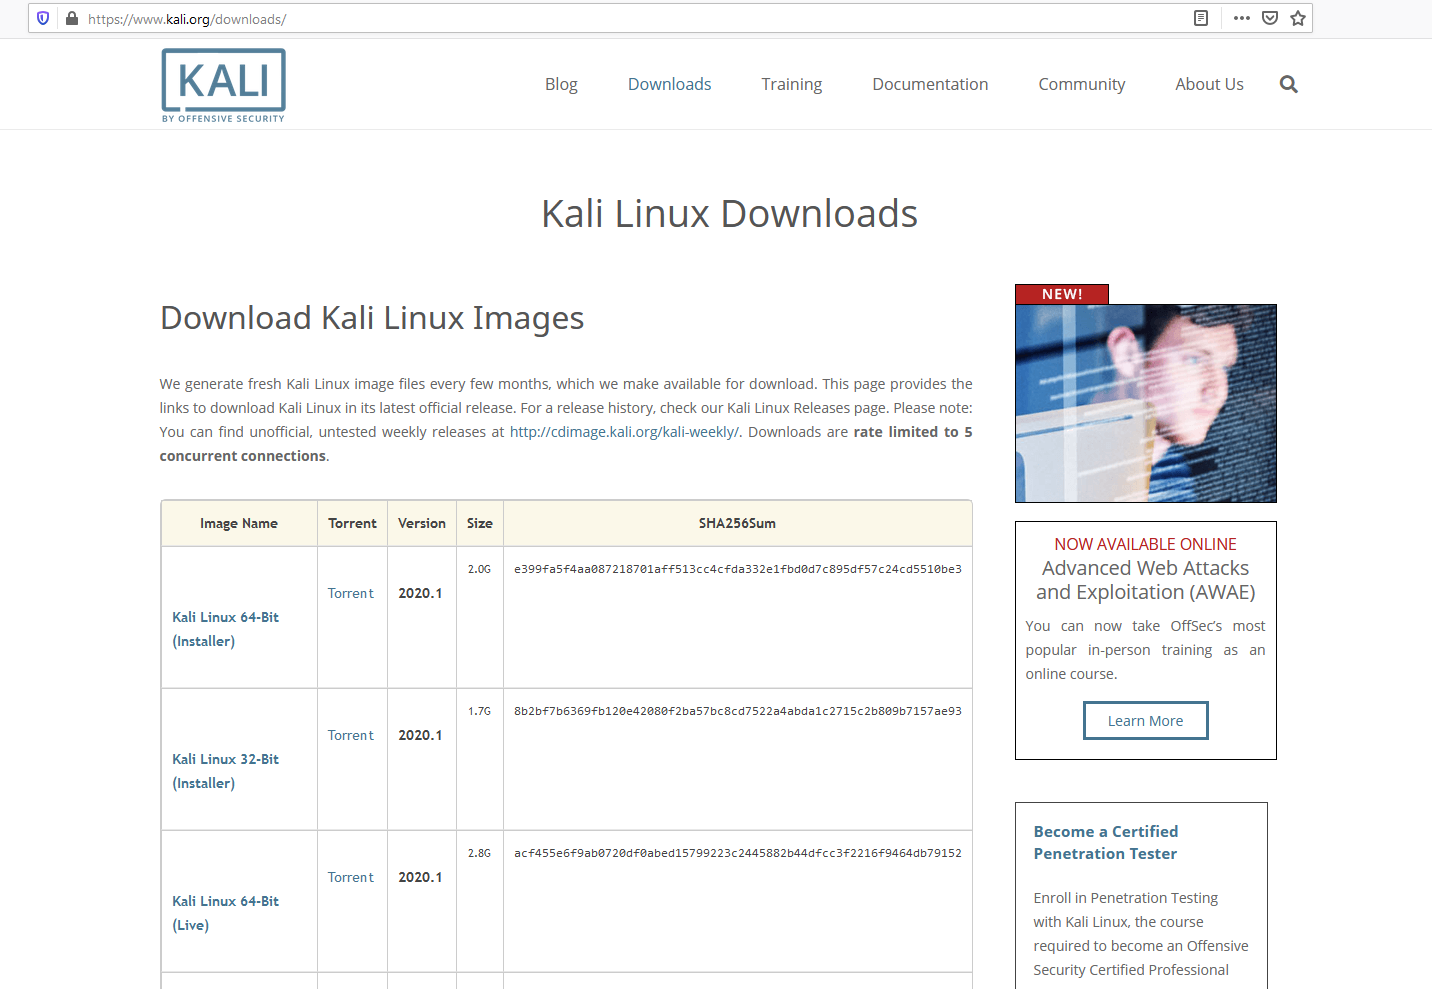
Simply select the edition you want and either click on the IMAGE NAME or the Torrent link:
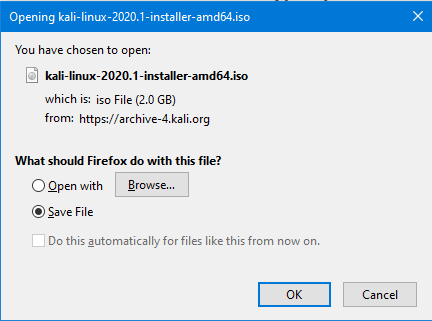

We are going to deploy this into a virtual machine in this post to show you the steps you need to get rolling!
While we wait for the download let’s see what new features and changes there are:
https://www.kali.org/releases/kali-linux-2020-1-release/
According to the blog we have the following change summary:
- Non-Root by default
- Kali single installer image
- Kali NetHunter Rootless
- Improvements to theme & kali-undercover
- New tools
Major change Alert!
Now for years the creds for live mode were root/toor, but now in a major plot twist the creds are…. Wait for it:
Kali:kali
Wow I’m glad we are all still here! So, what else has changed?
No longer root by default
Well another major change is the use of a non-root account by default! (did anyone say daily driver? Haha I love winding people up!)
Deploying KALI
Now if you are using the installer package you won’t have a LIVE boot mode (that’s why its ~800GB lighter, but don’t worry you can grab the LIVE mode one which you can install from as well!)
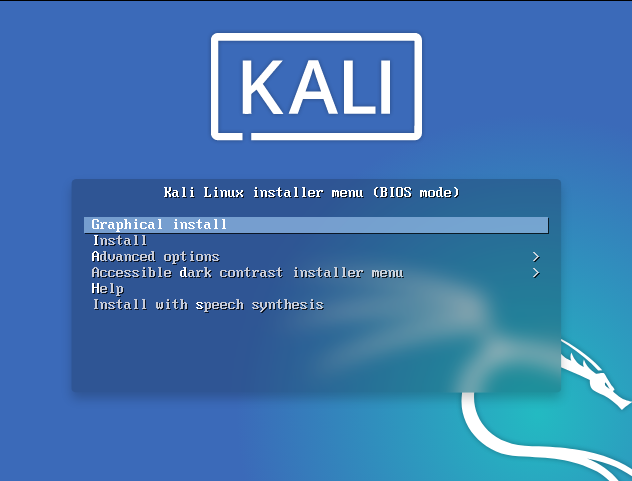
I’m going to select INSTALL because the installer graphics don’t really do much for me and this is simpler to run through

Select your location with the arrow keys then Press ENTER
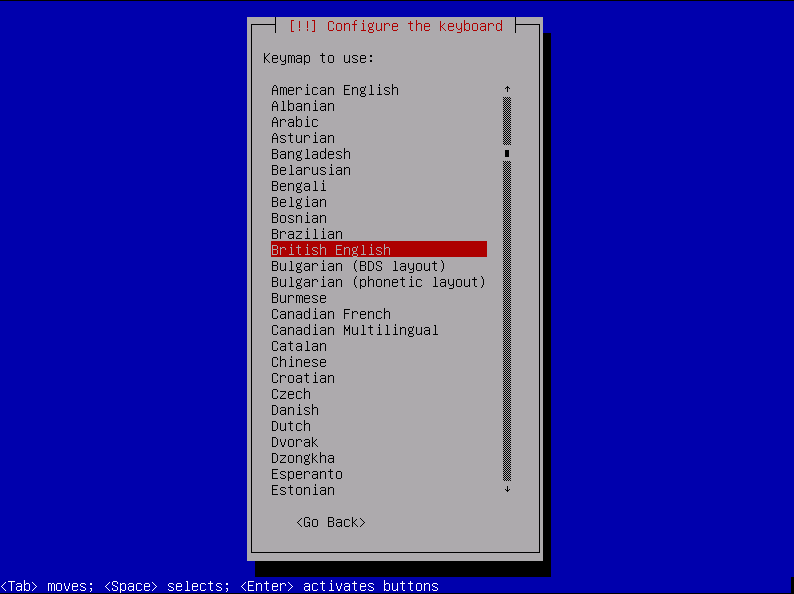
Select your keyboard layout then Press ENTER
Wait for a few progress bars then get to this:
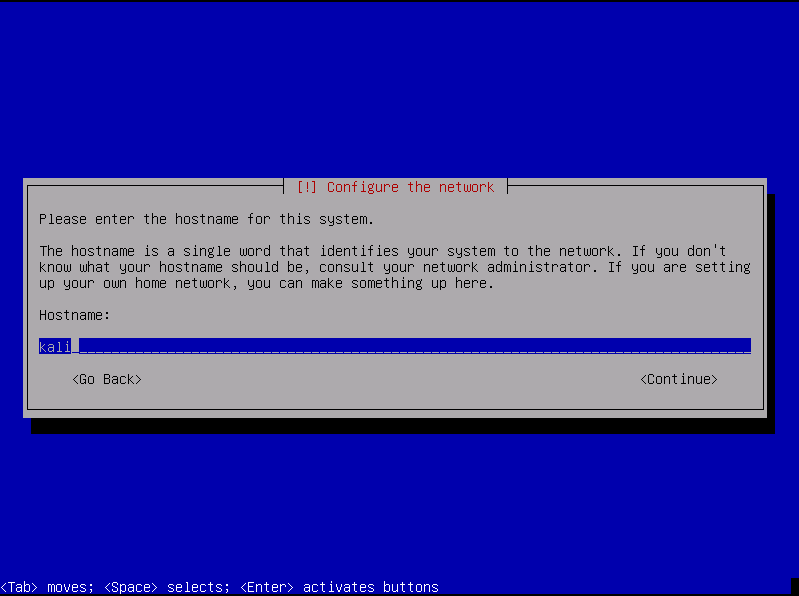
Give your machine a kick ass name:
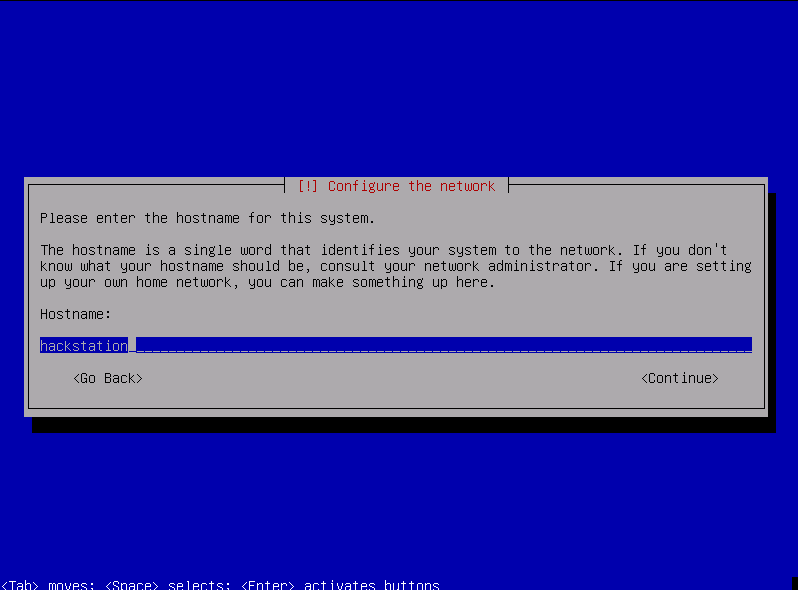
Then press ENTER
You can set a domain name if you like (I’m not going to at the minute)
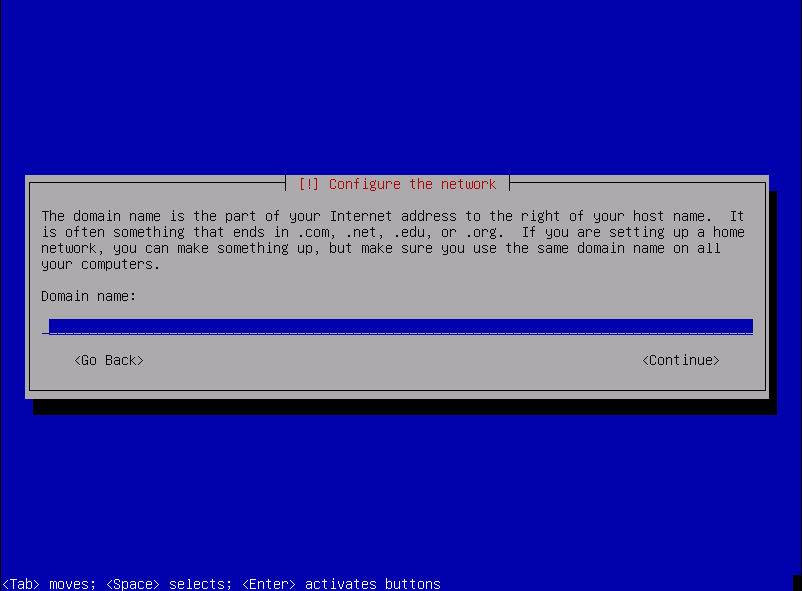
Press ENTER
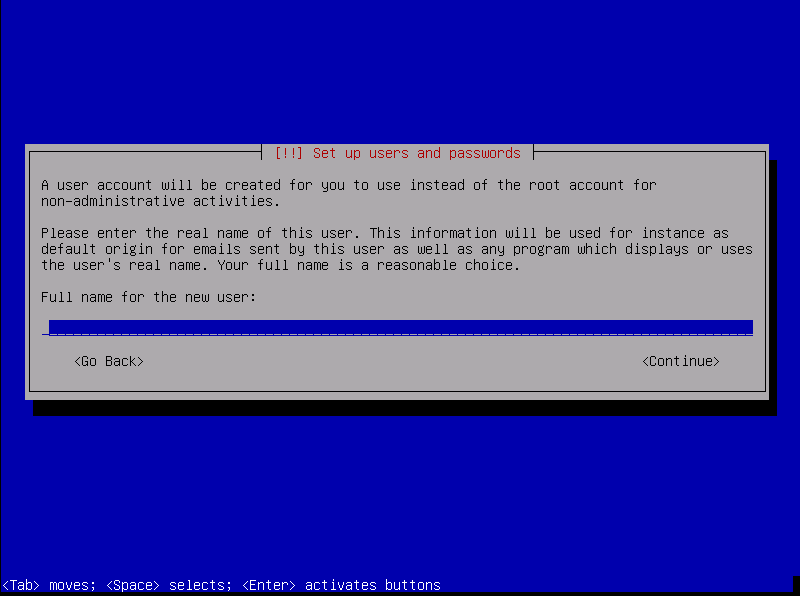
Now type your name (if you are going incognito clearly don’t use your real name 😛 )
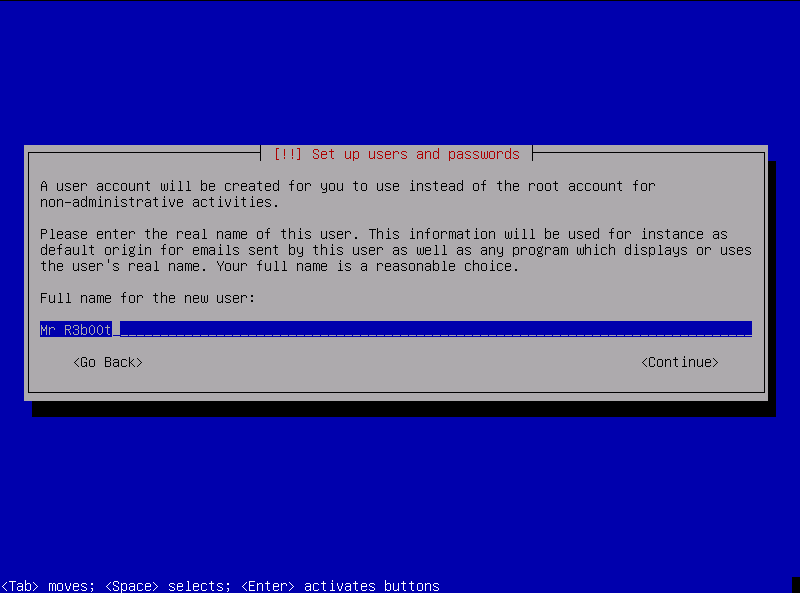
Press ENTER
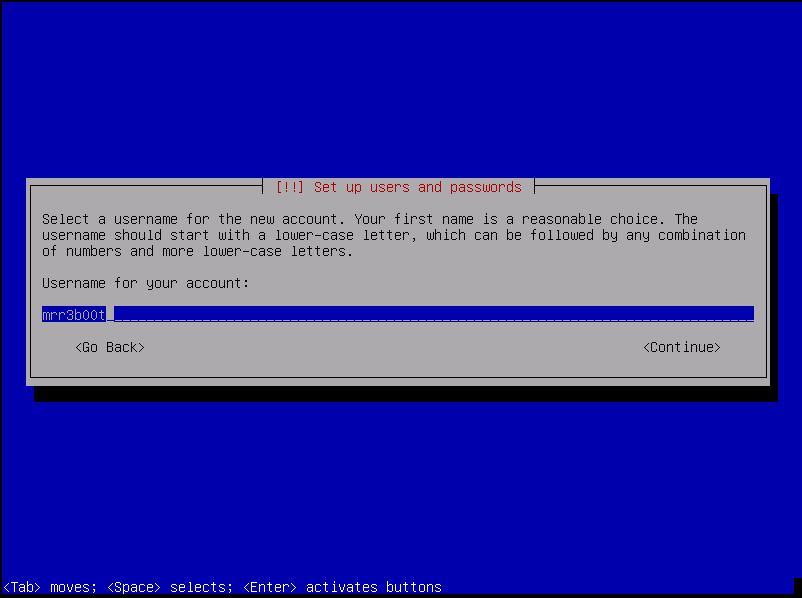
Now we must type our userid (lowercase) and press ENTER
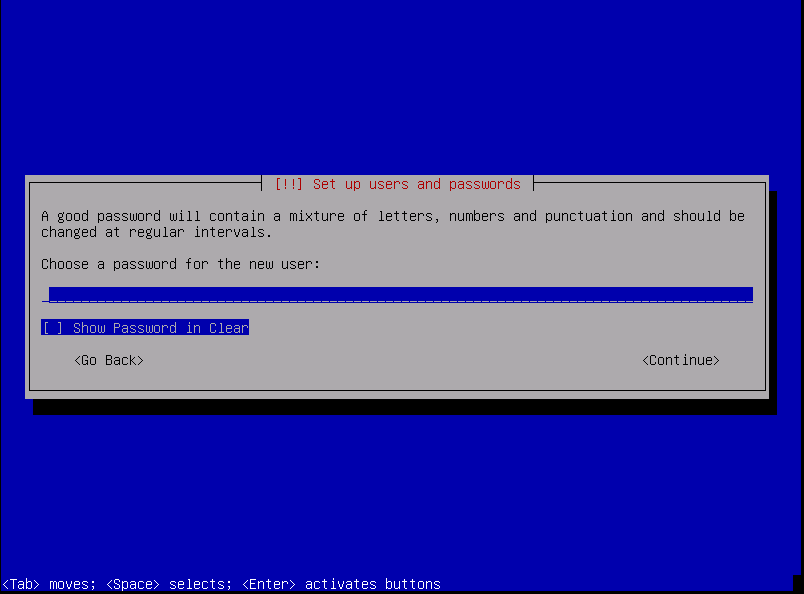
Type your password, Press ENTER then type your password again, Press ENTER
Next up we need to configure our disks!

Here we have 4 options:
- Guided – use entire disk
- Guided – use entire disk and set up LVM
- Guided – use entire disk and setup up encrypted LVM
- Manual
For this I’m going to use Guided – use entire disk and setup LVM (clearly, I’d recommend you use encryption for a production machine!)
Select the option you want with the arrow keys, then Press ENTER
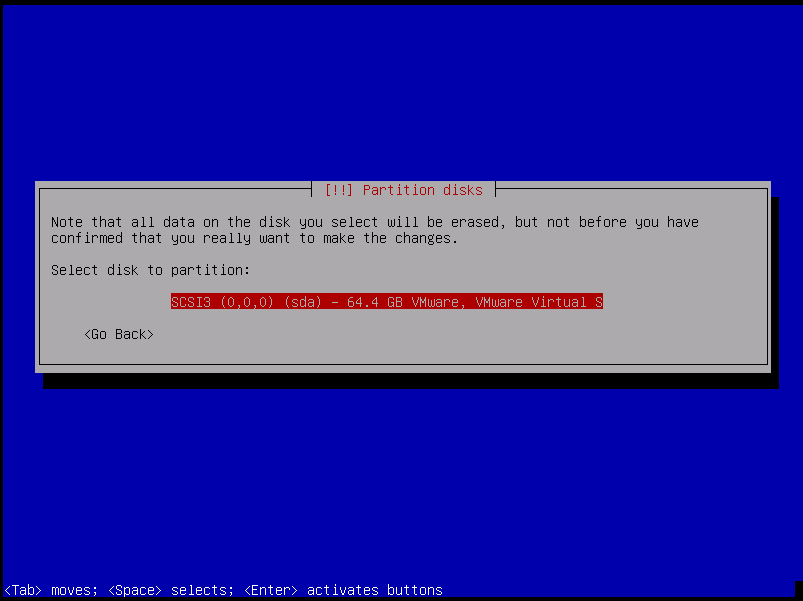
Press Enter (on this system there is only one virtual disk attached!)
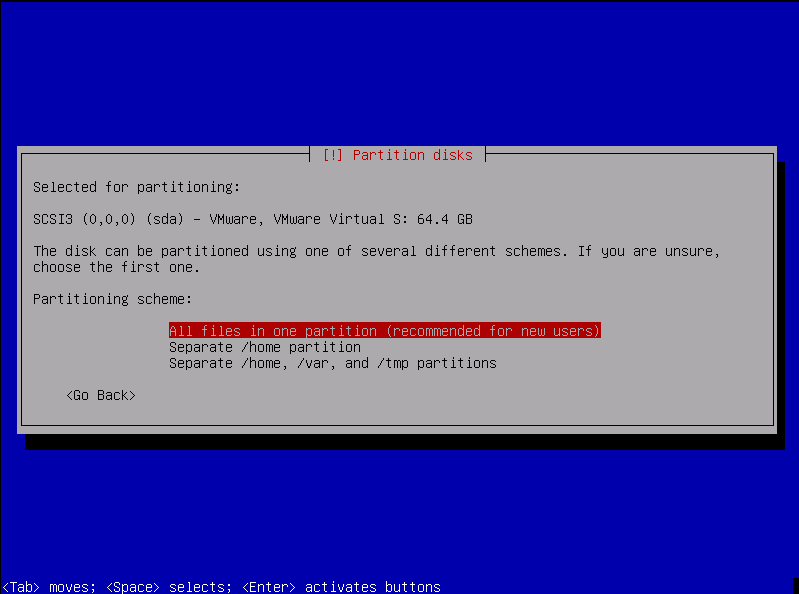
Now we have three options
- All files in one partition
- Separate /home partition
- Separate /home, /var, and /tmp partitions
Why do we care?
Well having these on different partitions can improve security and increase operational effectiveness (tmp and var can’t fill up your OS drive if they are separate etc.) but it does create additional partition management work. For this demo I’m just doing to use the default option (all files in one partition)
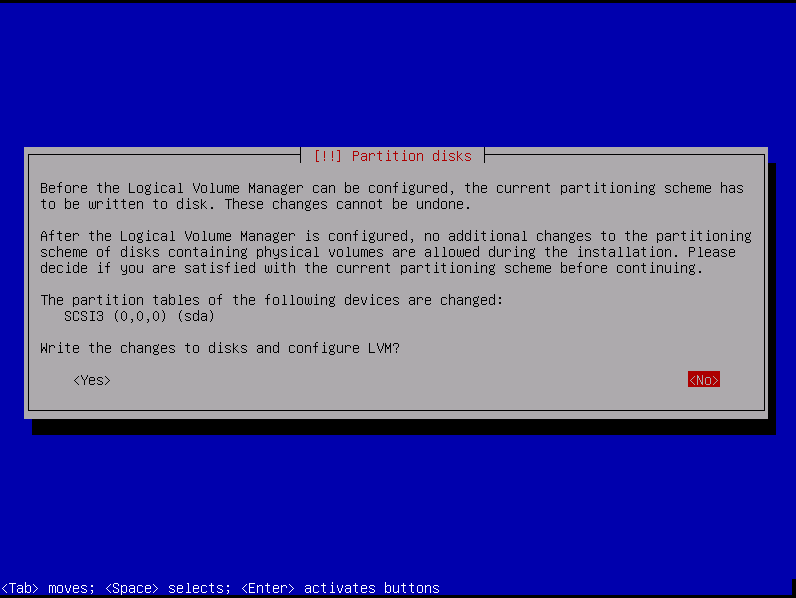
Now we are prompted to write changes to disks and configure LVM. We need to PRESS LEFT then PRESS ENTER
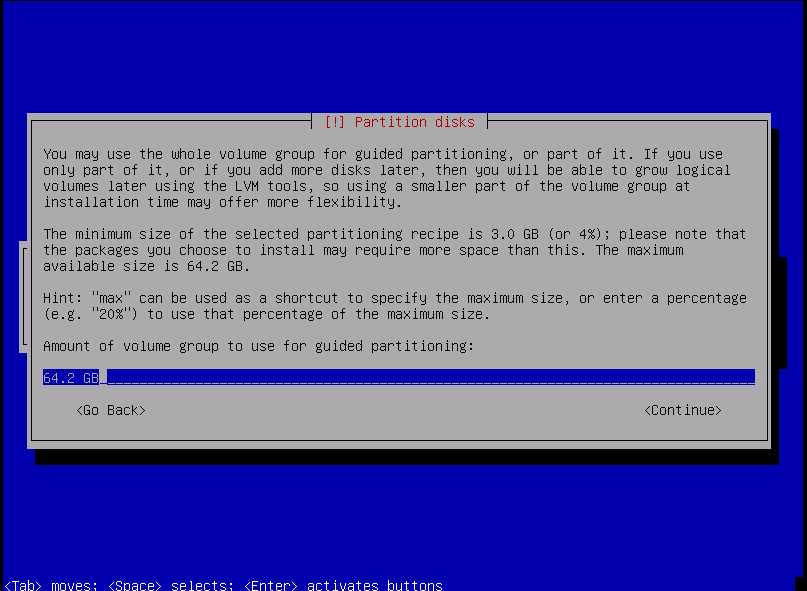
Select Continue (Press TAB) then Press ENTER
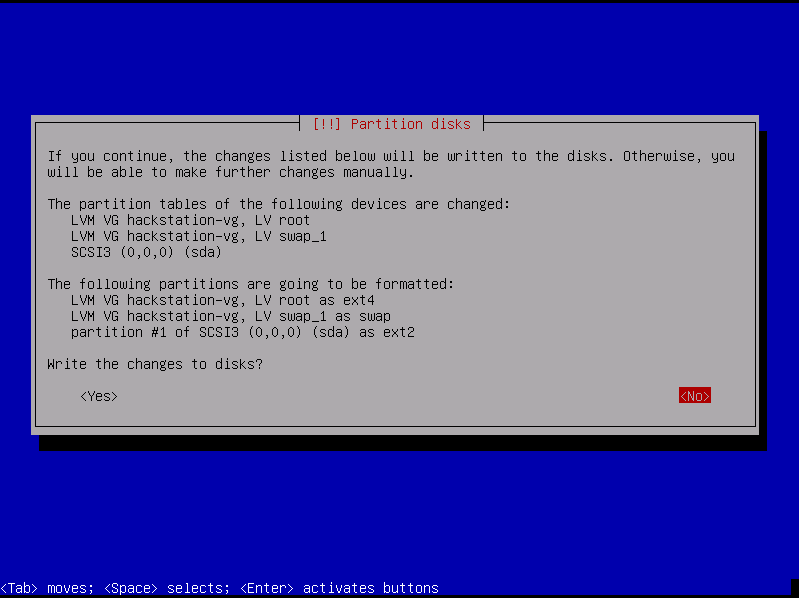
Again, press LEFT then press ENTER (if you are happy with the config)
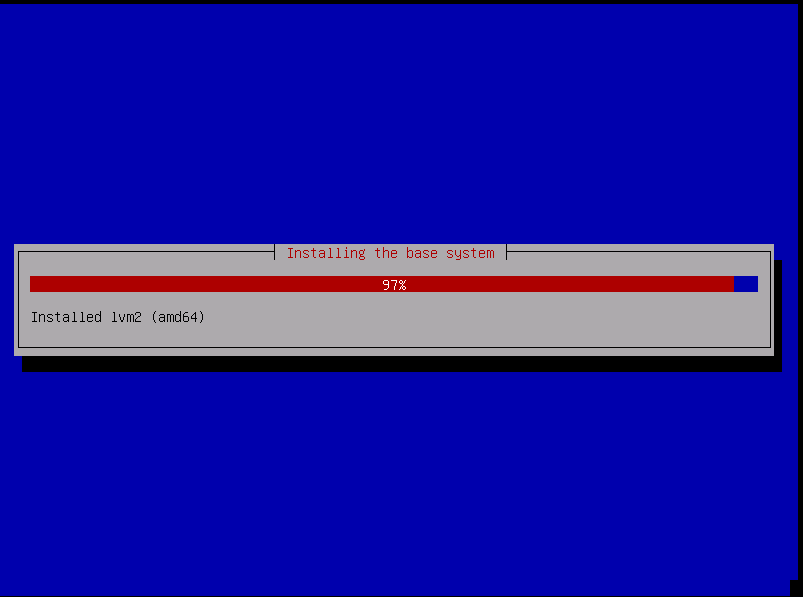
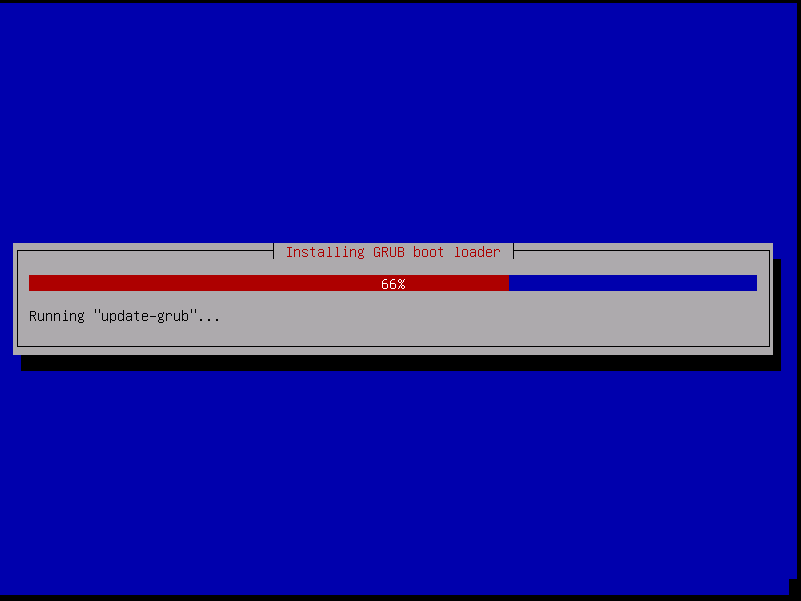
The system will now install:
Next we need to configure package manage (first it asks if a proxy is required)
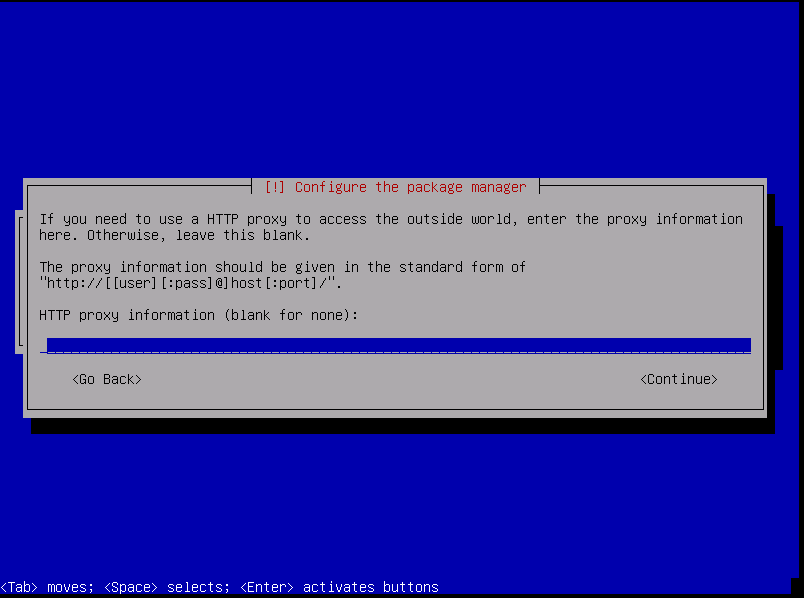
Enter your proxy (if required) or if not just press ENTER
Next up we have package selection!
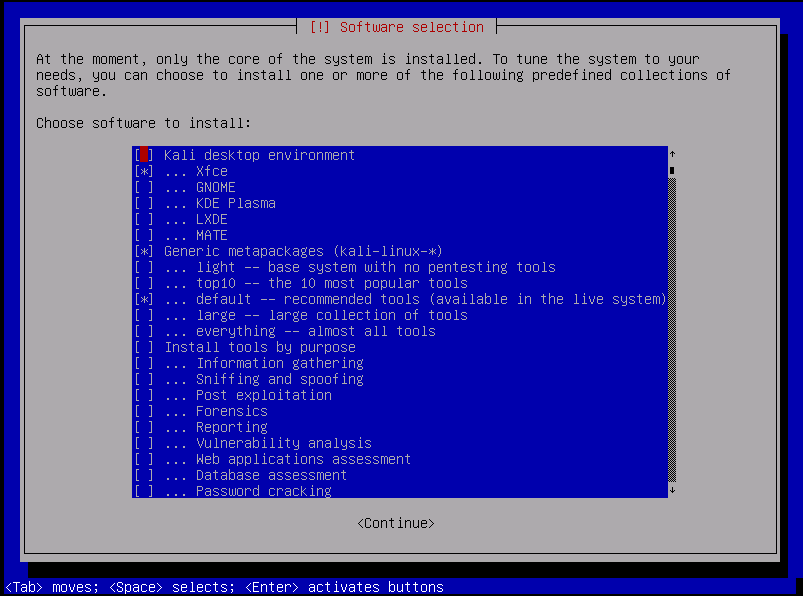
Please note, if you stick with the defaults you can do so without a net connection, but if you customise you might need internet access. Now if you are new to Linux then you will probably see the top section (Desktop environment) and thing WTF! That’s ok. Unlike Windows or OS X in LINUX you can choose the Window Manager and there are loads of options with funky names! Debian by default (Kali is based on Debian!) uses GNOME, but recently KALI switched to Xfce! Go wild and play with whatever window manager you want (KDE Plasma can be easily skinned to look very hax0r like but I find it to be a bit painful for a UX pov). For this I’m going to stick with the defaults!
Press TAB, Press Enter
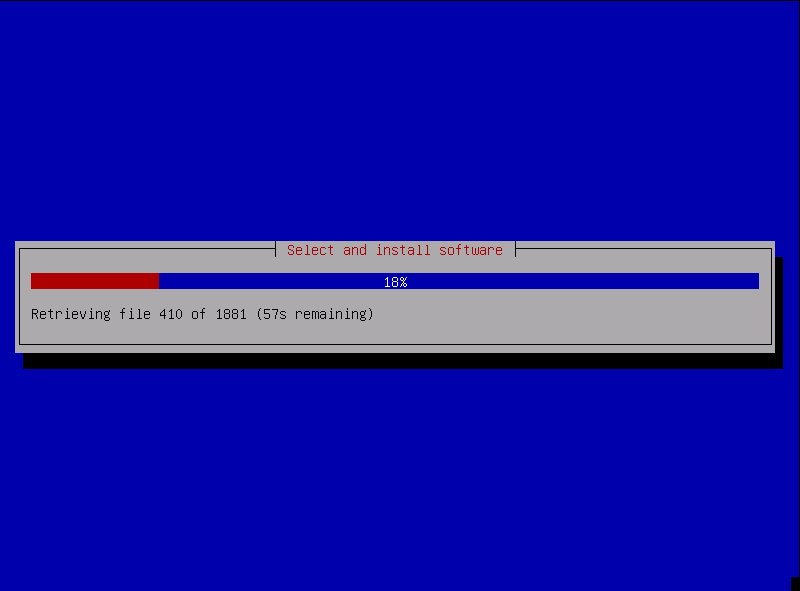
Depending upon your system specs expect to wait ~5 minutes for the install (I totally just made that up but it’s probably about that on a decent SSD and RIG)
Any finaly! We now have the option (it’s not much of an option on a new system as without a BOOT LOADER you can’t boot an OS) to install GRUB!
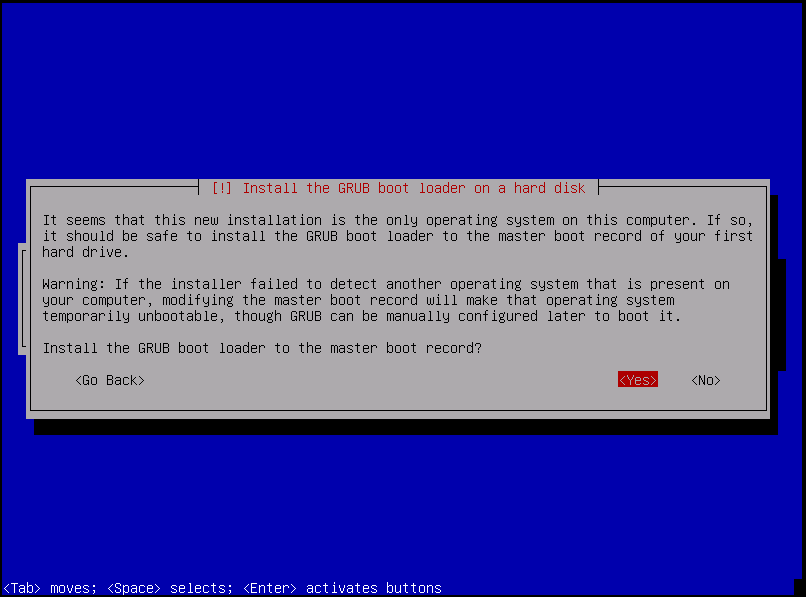
WTF is GRUB? It’s a boot loader! WTF is a boot loader? Well a boot loader is read from the disk as a stub to let you load a larger operating system! Simples! (actually its complex like all things in computers so check out some internet resources: https://en.wikipedia.org/wiki/GNU_GRUB)
Press ENTER
Now we can choose the drive to load it to!
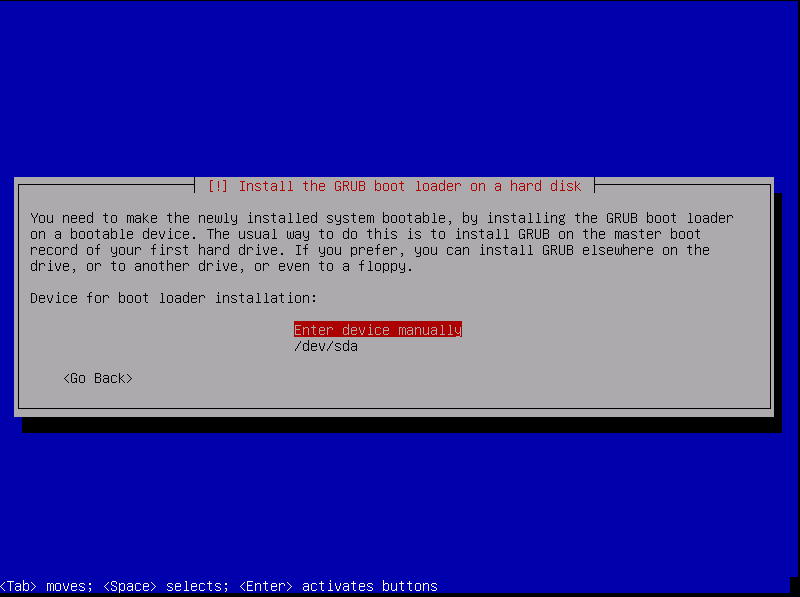
In the LINUX (and UNIX) world drives are named /dev/ (device) then xxx (in this case sda for the primary drive) (sd =SCSI device – followed by a letter/number for drive e.g. sda1)
Read some more shizzle on this here!
https://www.debian.org/releases/wheezy/amd64/apcs04.html.en
https://www.tldp.org/LDP/Linux-Filesystem-Hierarchy/html/dev.html
Press DOWN, Press ENTER
And woohooo! We are installed!
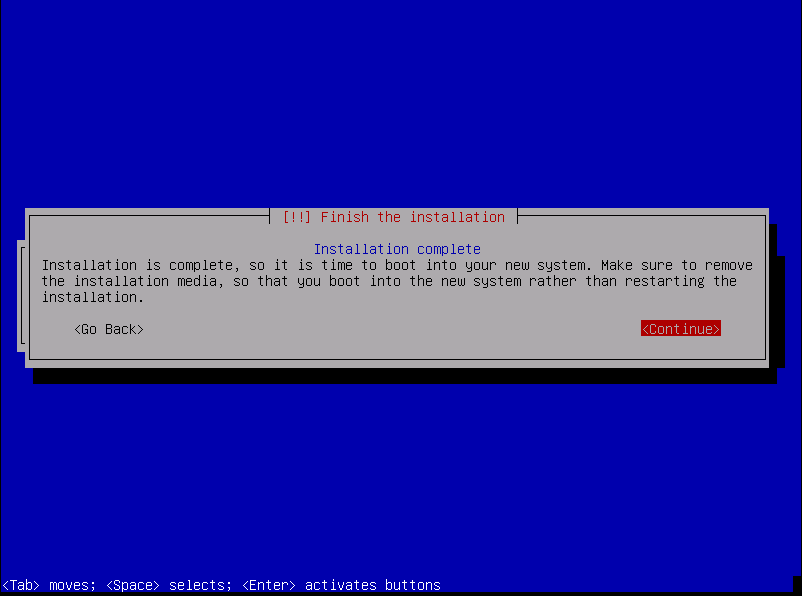
Press ENTER
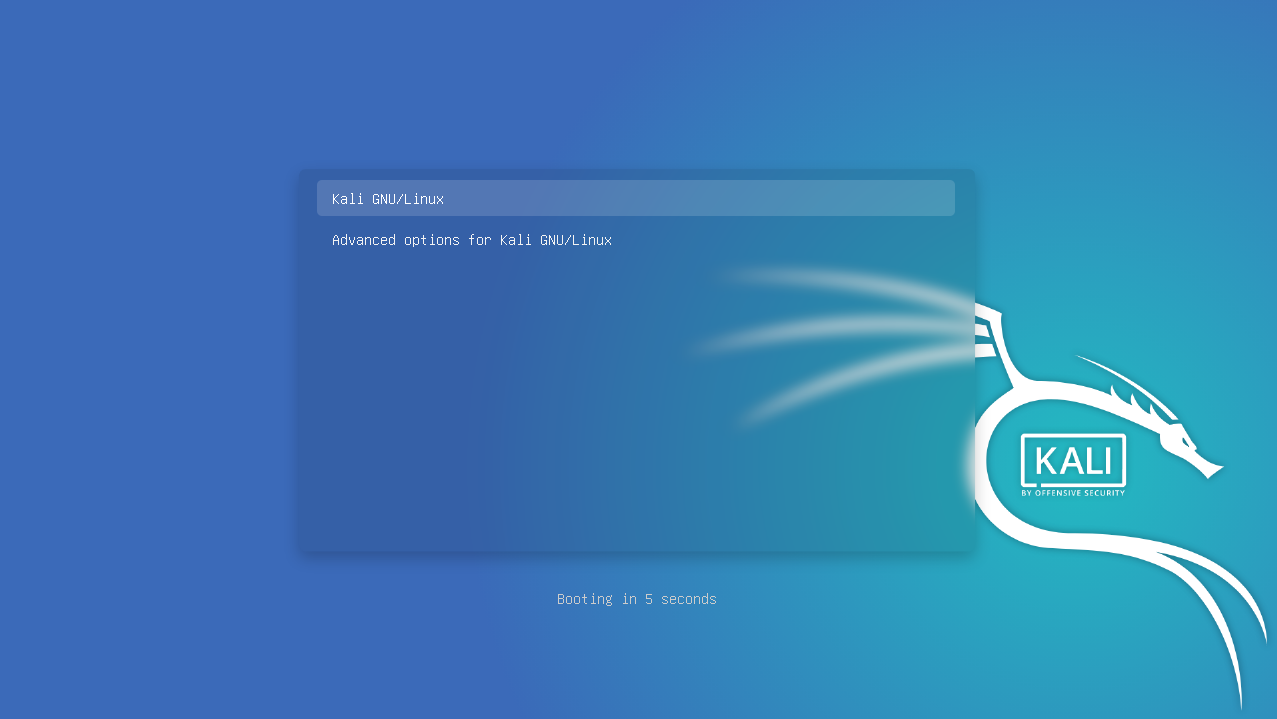
Now we are loading!
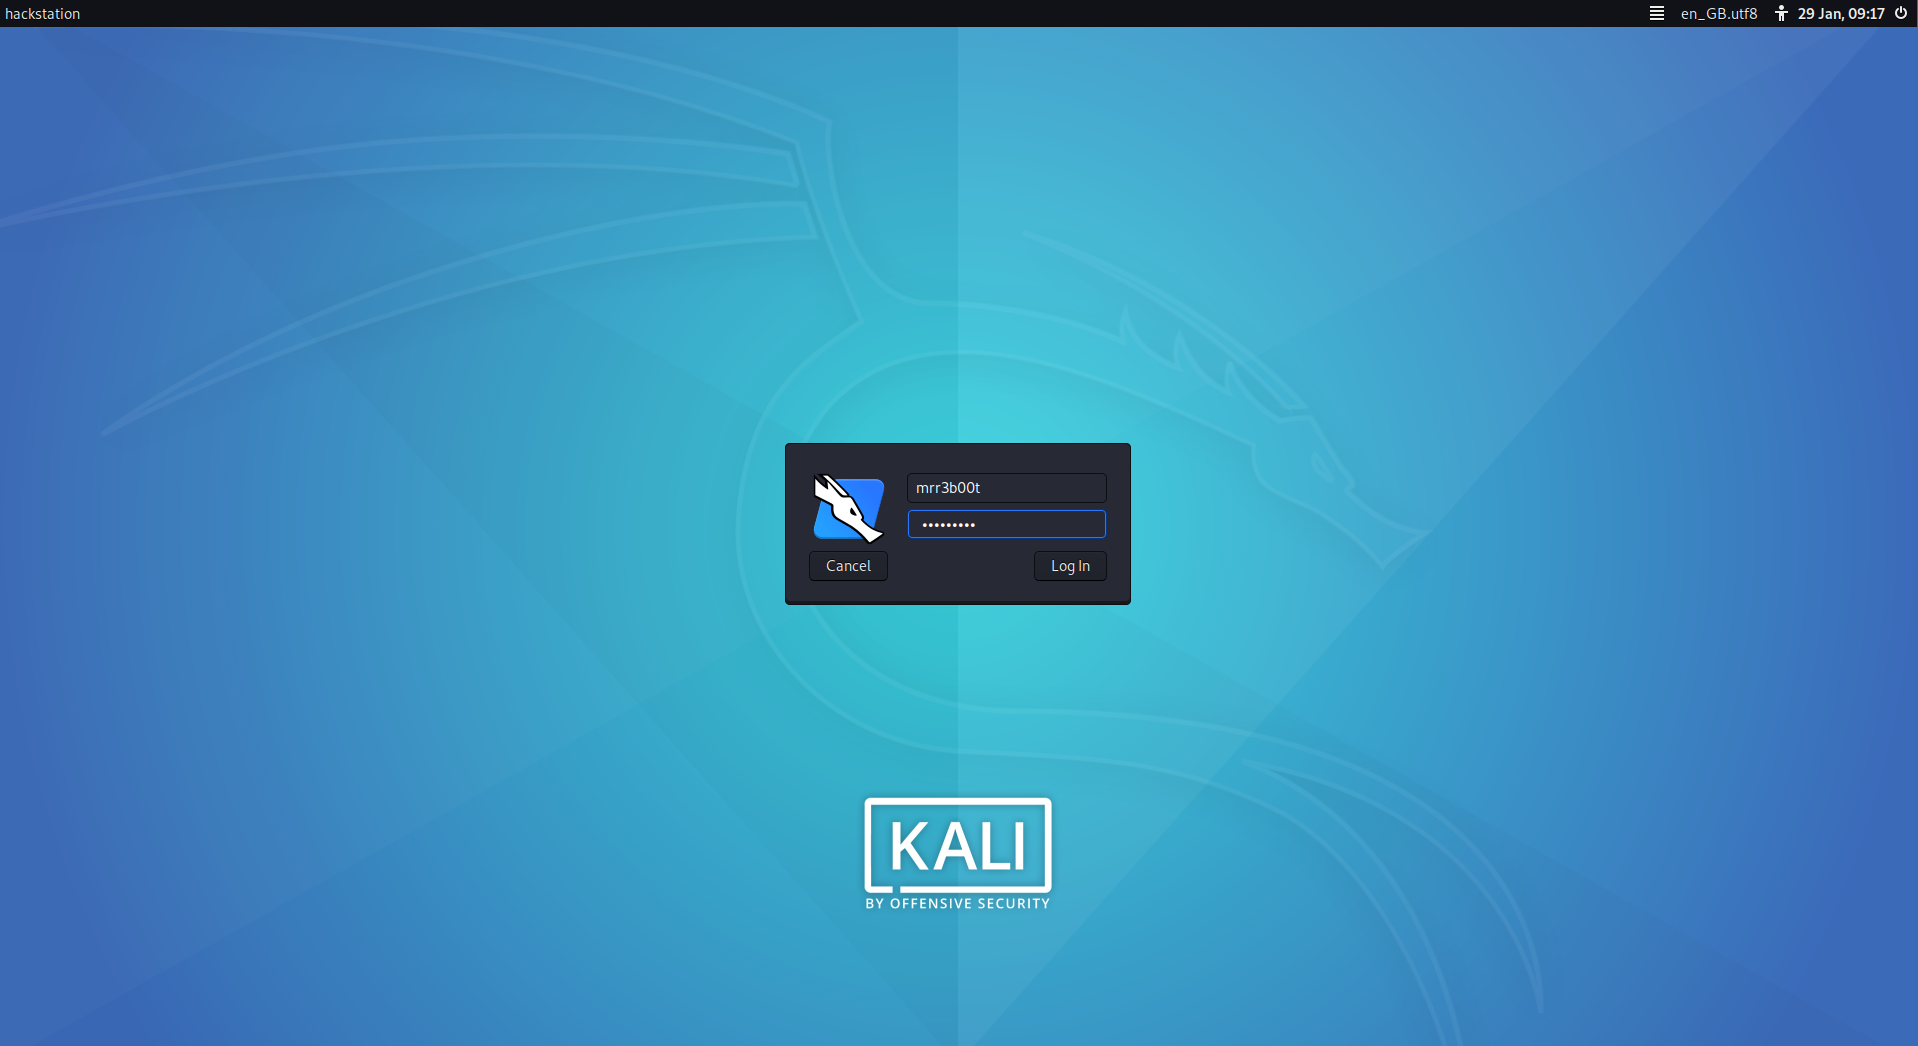
In no time at all you will be at the login screen!

Type your creds you entered and click Log In
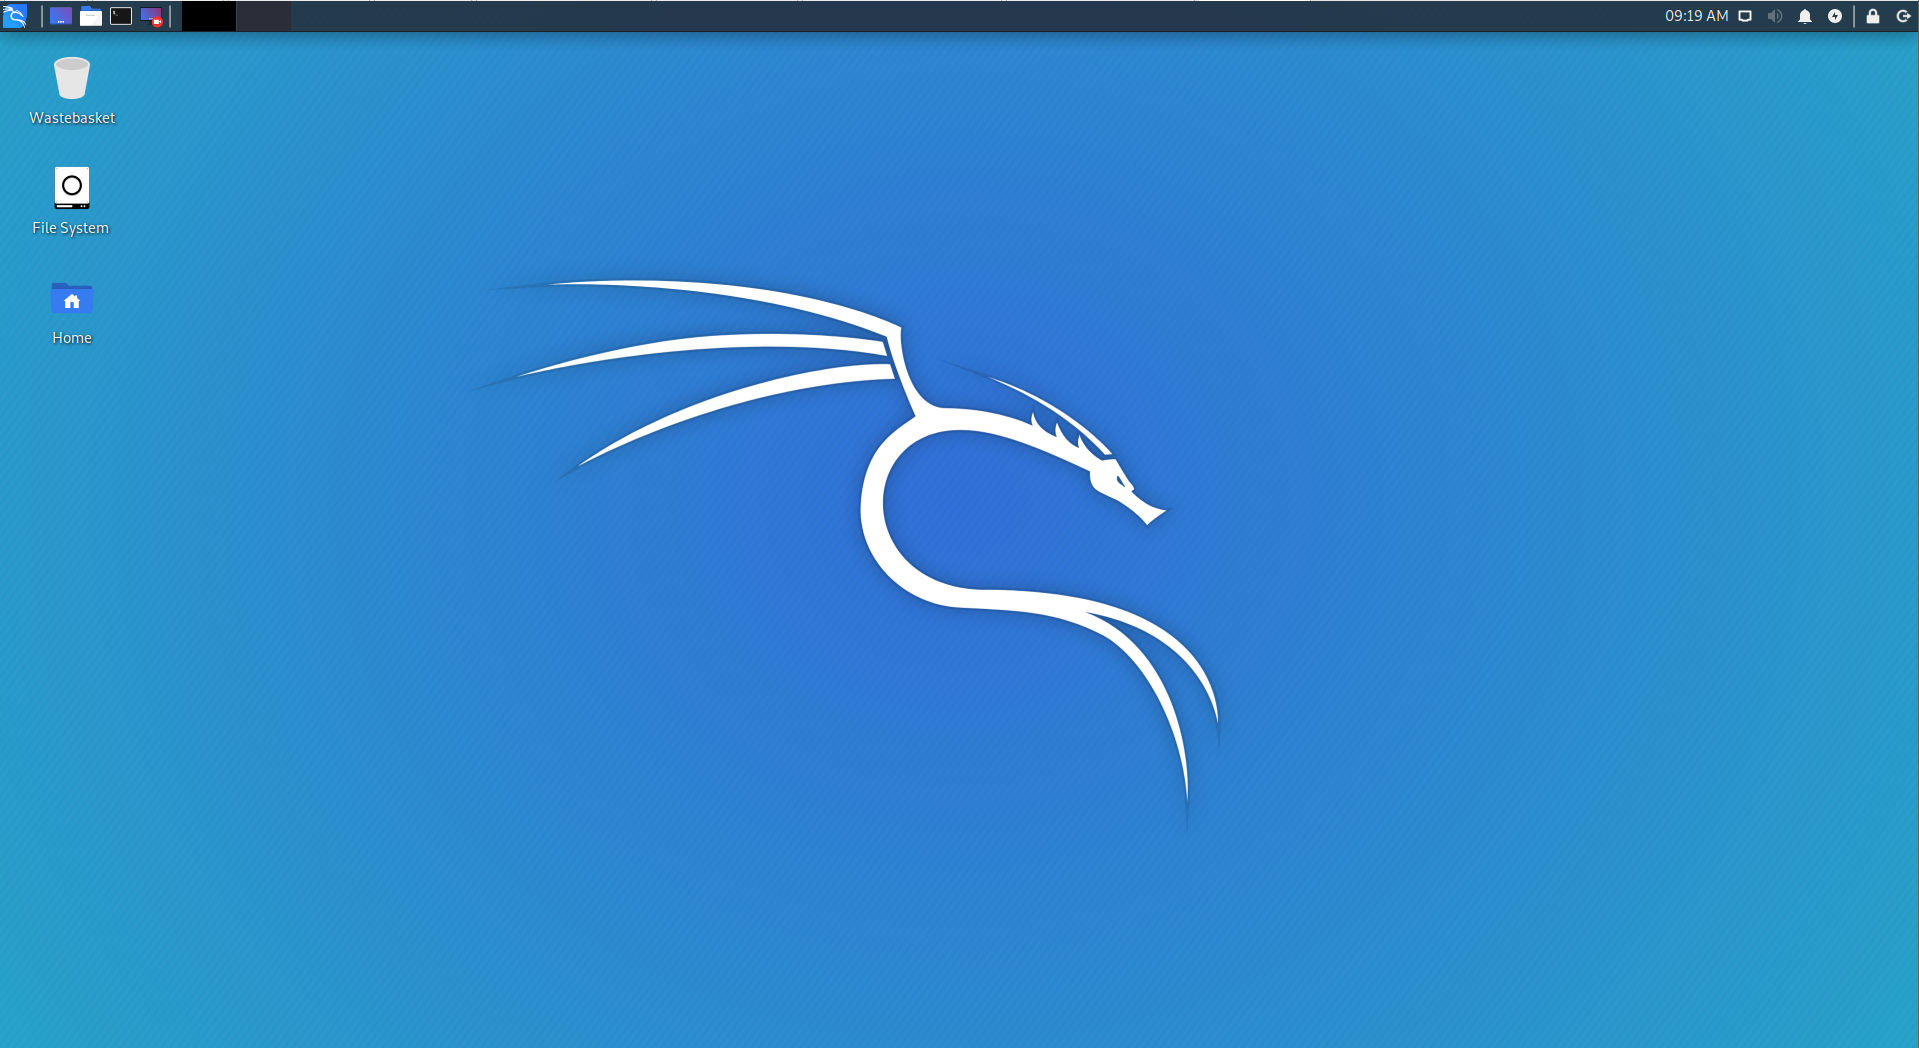
We now have the desktop!
Cool Features
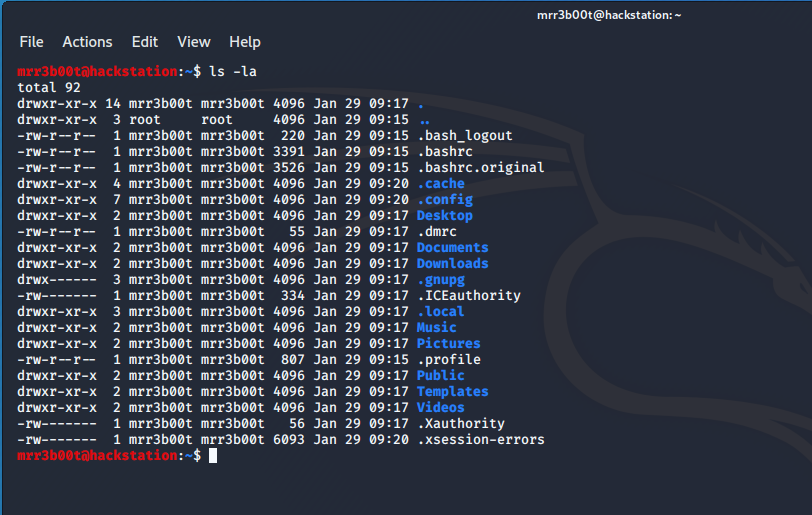
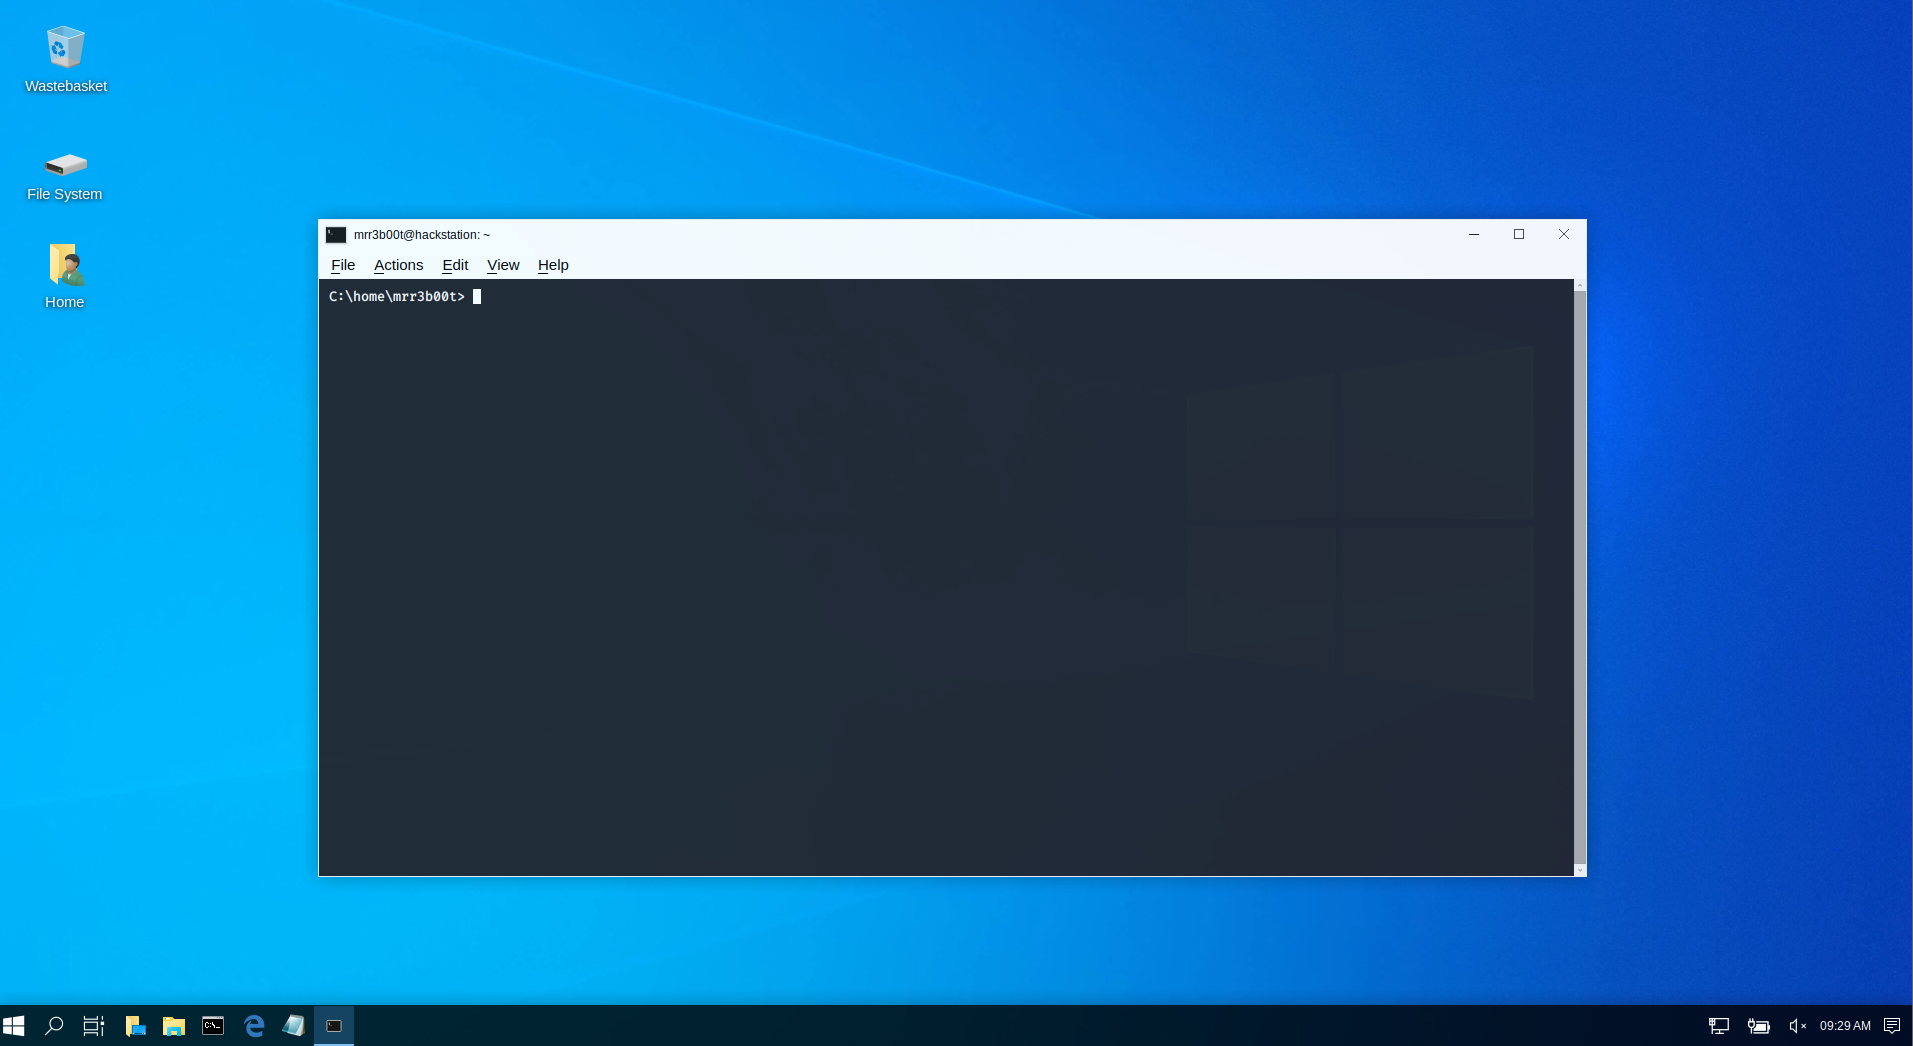
Open a terminal and you will see that we are no longer root by default!
We can run the following to show any sudo users:
grep ‘^sudo:.*$’ /etc/group | cut -d: -f4
but what does that do?
Well in LINUX all things are held in files. So inside the /etc/ folder we have a file called group
We can use the cat command to list the contents of files so let’s ‘cat /etc/group’
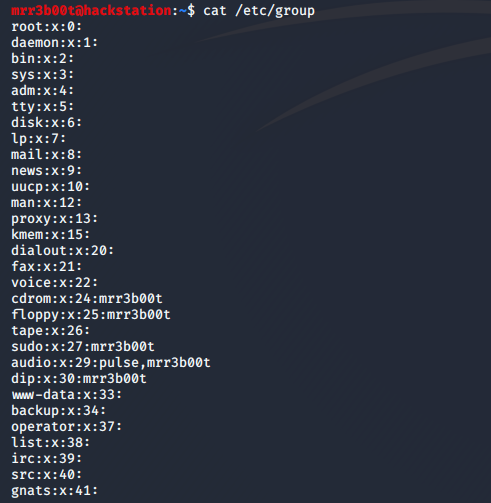
We can see that there is a group called sudo (super user do) and inside that group we have a user mrr3b00t (it a me!)
So, let’s upgrade our bash shell to a root shell:
We type ‘sudo bash’ then press Enter
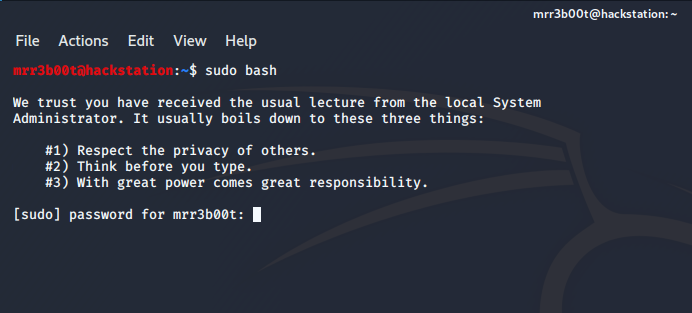
We now need to type our password and press ENTER

We are now root! Remember you can run this for each command e.g. ‘sudo cat’ etc.
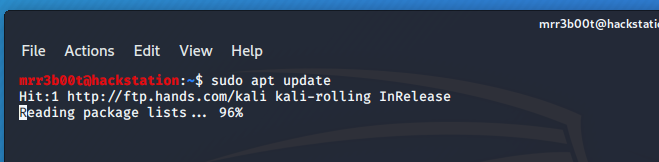
e.g. once we have deployed we need to update our sources etc. (not by default this isn’t set to https – go do that now!)
Going Undercover
To disguise your machine if you are in public or on an operation you can use the following command:
kali-undercover
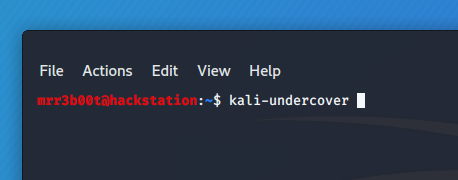
And your desktop environment will be transformed!
How cool is that!
You can switch back by running the command again.
Summary
So today we’ve taken a quick peek at the new ‘not as root’ feature change as well as looked at how to do a simple installation of KALI 2020.1 in a virtual machine.
Hopefully that’s shown how simple it is to install, remember you can deploy over PXE or in an automated fashion by using an answer file (preseed)
https://kali.training/topic/unattended-installations/
https://www.kali.org/dojo/preseed.cfg
However, I normally deploy manually, it doesn’t take long and you can use vm features such as snapshots or backups to image when you are happy with the config.