 Education
You can deploy Nessus in a range of ways, from direct install through to using a cloud-based deployment or virtual appliance.
A common reason for deploying on Kali or other distro rather than using the virtual appliance is for mobility, ease of use but also you might want to VPN or proxy traffic.
The install process is simple, log into your account on tenable community portal and download the relevant installation package.
| sudo dpkg -i Nessus-10.2.0-ubuntu1110_amd64.deb |
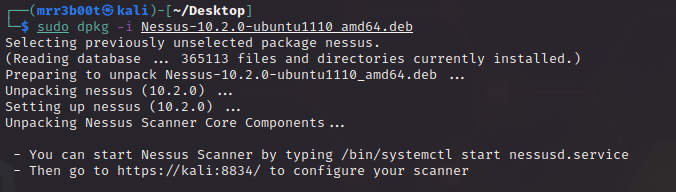
| sudo /bin/systemctl start nessusd.service |
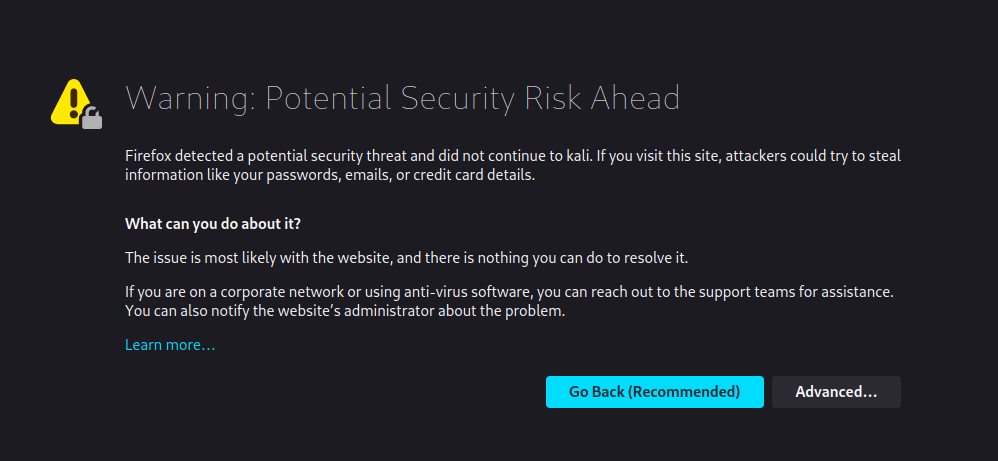
Click Advanced
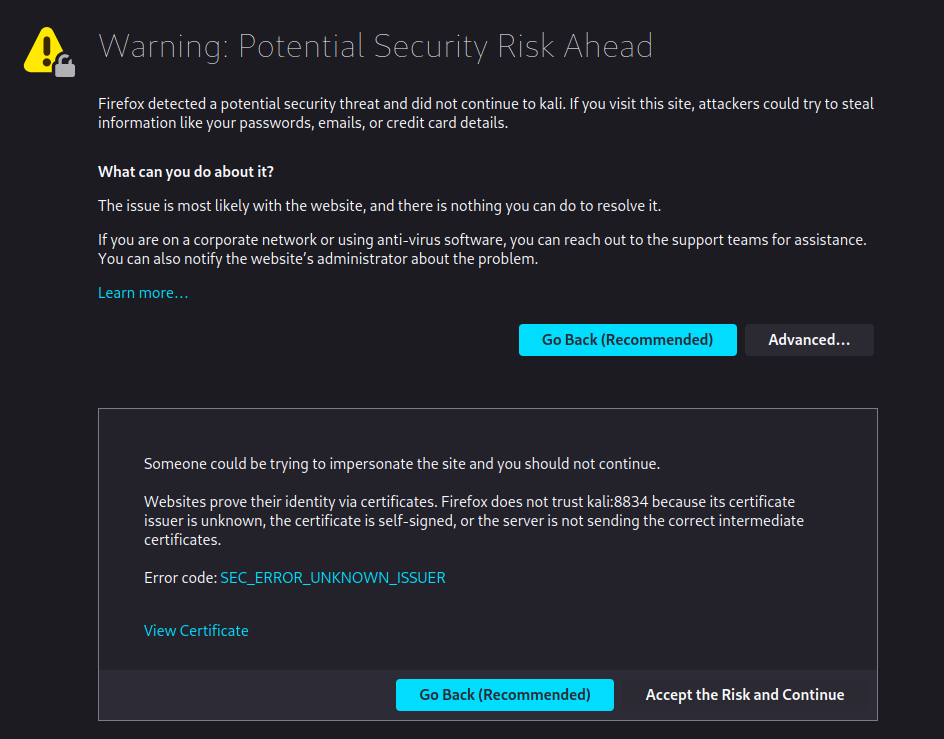
Click Accept the Risk and Continue
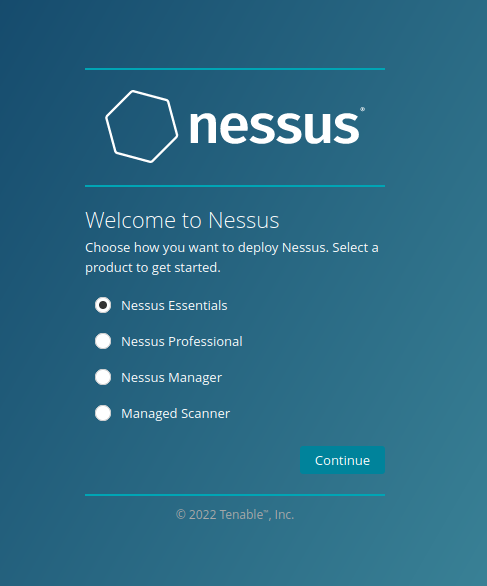
Choose your Nessus version
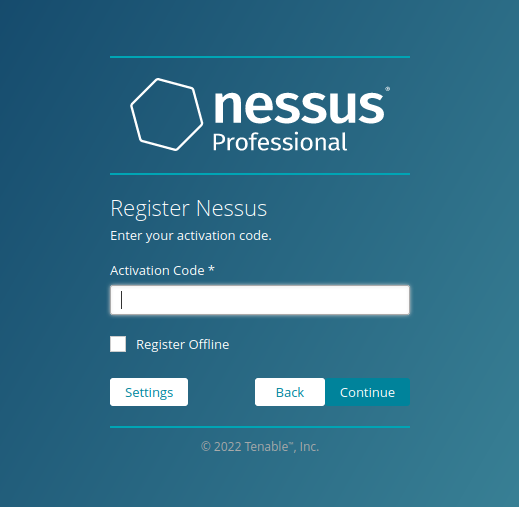
Enter your activation code
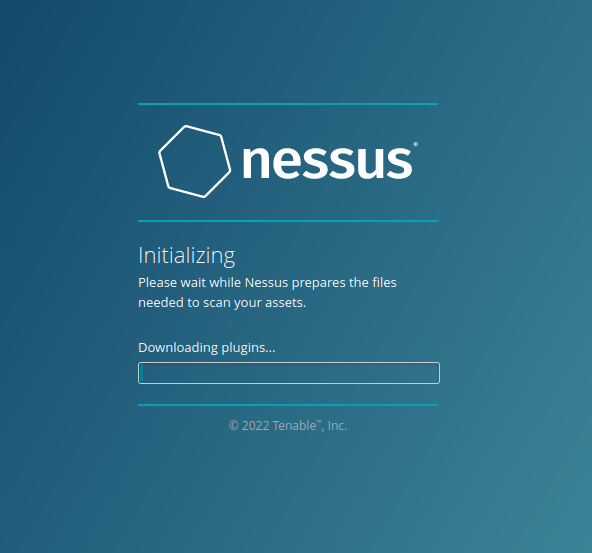
On a reasonable machine plugin will compile in ~20 minutes. They have been known to take up to an hour on customer environments.
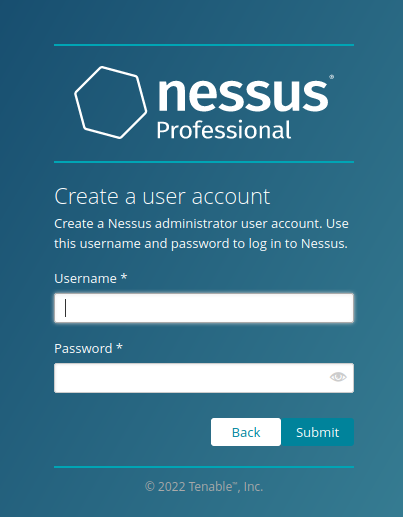
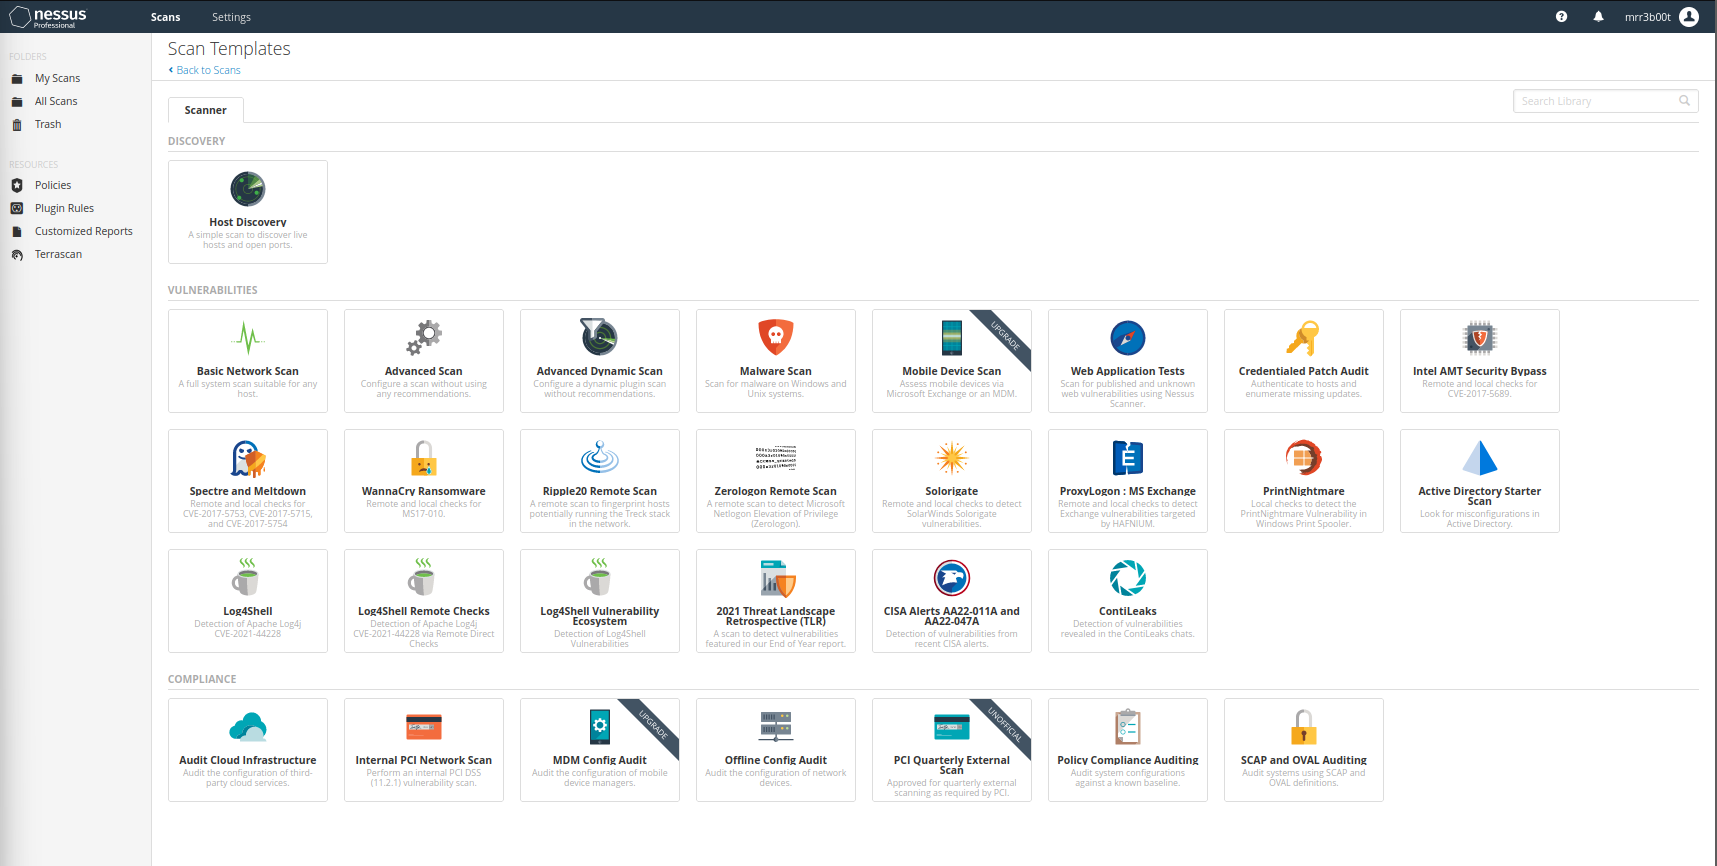
One installed we can login and start discovering networks, scanning networks, web applications and even auditing policies and scanning cloud infrastructure.
Now you can log in via:
Summary
Vulnerability scanning and assessment is an important capability for any organisations, team or if you are doing a asset discovery, standards and compliance auditing, system hardening, vulnerability scanning or penetration testing etc. Hopefully this shows how simple the process for installation is. Scanning configurations are also fairly simple, compliance policy auditing can become a little more involved.